The method is this post is OUT OF DATE (well almost).
Basically, we no longer need to downgrade Roundcube.
I have taken an updated version of the filters plugin, and then modified it.
The plugin is still very much at the testing phase, but I will keep you posted on the progress.
The method in this post is still the best way at the moment.
Introduction
It has become increasing apparent that the method of setting up a Spamassasin user interface outlined in previous versions of this post was inefficient, and where it did work using the old method, it was somewhat unstable. Even before we moved to Ubuntu 24.04, there were minor efficacy issues.
The default Ubuntu 24.04 version of Spamassasin, in my opinion just adds to the efficiency problems. The main Roundcube plugin that makes this all possible (sauserprefs) also causes some inefficiencies. Also, some of my settings in the previous method could have been better.
So, not only do I recommend a “downgrade” for Roundcube I also recommend a downgrade of Spamassasin. Neither of these downgrades represent any loss of functionality or security, in fact they provide better functionally and efficiency. I have also made some slight modifications to the code behind sauserprefs, coupled with some better configuration, in my opinion this makes the new method far superior to the old one.
If you have already set up Spamassasin using the old method (prior to post update on the 27/06/24) you can either keep using it “as is” or you can modify your existing setup using THIS POST. If you have not set this up yet and you want to, please read on.
About Spamassasin.
As it stands Spamassassin is installed on your server, but for whatever reason it does not appear to be filtering content. Previously in EHCP force the spam threshold score was set to 12.00.
In my opinion 12, is like not performing any checks at all.
The default is 5.00, which lets most things through.
How does Spamassassin arrive at the spam score?
Each email scanned by Spamassassin can go through up to 600 individual tests. All in all, Spamassassin has over 1000 tests available, but not all are used.
Checks run in priority and some checks are skipped if certain other checks succeed or fail. Each check may add or subtract to an email’s score.
This per check score is usually very small, typically between ±0.01 and ±0.5. Some of the more obvious tests will add or subtract 1.0 to 2.5 to an emails score.
As email gets tested, each test score is added to a running total.
When this total reaches the Spam threshold as set by you, the email is marked as spam.
I personally recommend a spam threshold score of around 3 or 4.
What are we going to do.
In this topic we will give individual email users the option to control Spamassassin for their own requirements direct from Roundcube webmail, as well as greater control of the junk email folder.
This is well worth doing as we will be effectively giving spamassassin a user interface, and also making it so email users can have customised settings rather than the current global settings.
Now there is a piece of software installed on your server that wants to take away our control over spamassassin, this software is called Amavis.
Ok let’s break this down a bit, the name of the actual mail server software is Postfix, your anti-virus application is called ClamAV and your spam blocking application is called Spamassassin.
Amavis is what is currently interfacing ClamAv and Spamassassin with postfix, almost like a middle man or go between.
I am hope that makes sense.
Now we are unable to give users full control over spamassassin whilst Amavis is still in the mix (or at least not easily anyway).
We cannot remove Amavis from the system as when we run EHCP force update it would be put back.
Also if we break the link between Amavis and Spamassassin, and interface Spamassassin directly with postfix this would also break the link from postfix via Amavis to ClamAv.
Sorry this is so complicated!
Ok, so the solution is to disable ClamAv and Spamassassin within Amavis, but leave Amavis running in the background so not to upset EHCP force, then Interface Spamassassin directly with postfix, finally install an add-on for ClamAv called ClamAv-Milter to link it back into postfix, all this is to gain control over spamassassin for individual users.
If that was not enough we then have to get Spamassassin using a database for its configuration rather than a file.
In order for this all to function we have to downgrade Roundcube to the latest LTS version (Long Term Support), we also have to downgrade Spamassassin to a (in my opinion) more efficient version.
We are not going to remove the current version of Roundcube, so if you don’t like the LTS version you can resort back with one simple command (this will of cause disable our Spamassassin user interface).
We are going to remove the current version of Spamassassin, and install a slightly older version which is not as simple as it may sound.
We then have to make changes to the Ubuntu package manager (apt), so it does not allow Spamassassin to be upgraded, or even suggest it for that matter. I have also had to modify Spamassassin, for better compatibility with Ubuntu 24.04.
If you don’t want to make these downgrades, then DON’T FOLLOW THIS POST.
I am not going to lie, this is quite a long and complicated topic, and because of the complexity its quite easy to make a mistake, and land yourself in a mess. So, please think carefully before doing this.
This is the order of play. It is safe to take a break between each section.
1. Downgrade Spamassassin.
2. Create a MySQL database for Spamassassin to use.
3. Configure Spamassassin to use your new database.
4. Deactivate scanning via Amavis, Connect Spamassassin and ClamAV back to postfix.
5. Activate DCC for Spamassassin (more on this later).
6. Install the Roundcube LTS version with the plugins.
7 Testing, using and final notes.
Ok only if you are sure, let’s get started.
------Part 1, Downgrade Spamassassin------
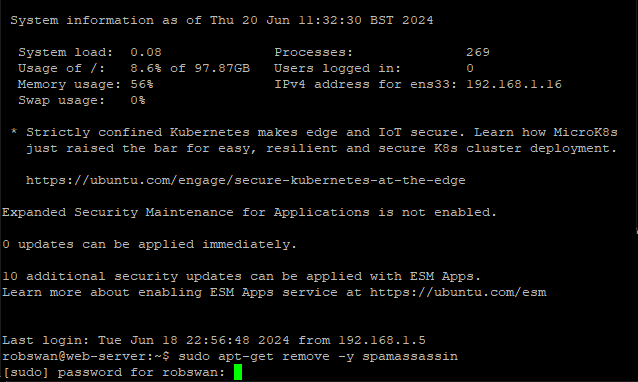
Log into your server using your PC and PuTTY.
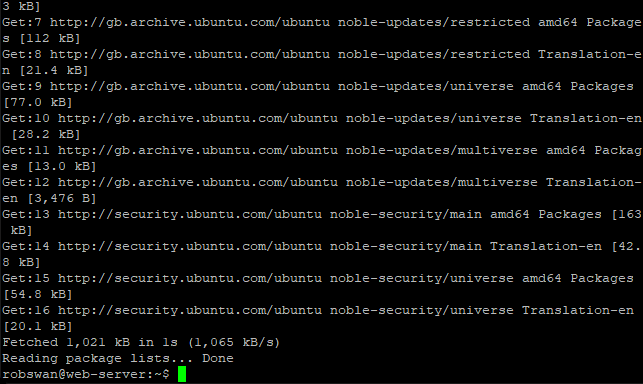
Issue these commands one by one, to remove the current version of Spamassasin.
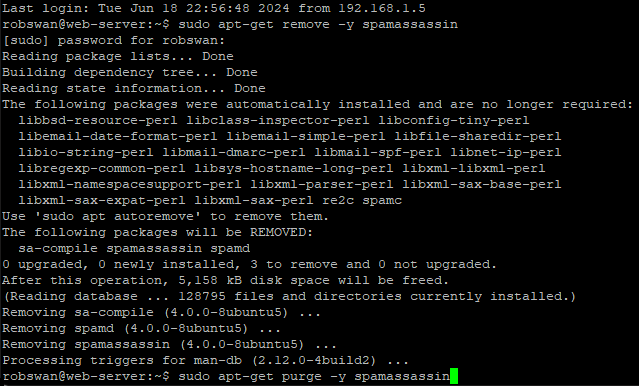
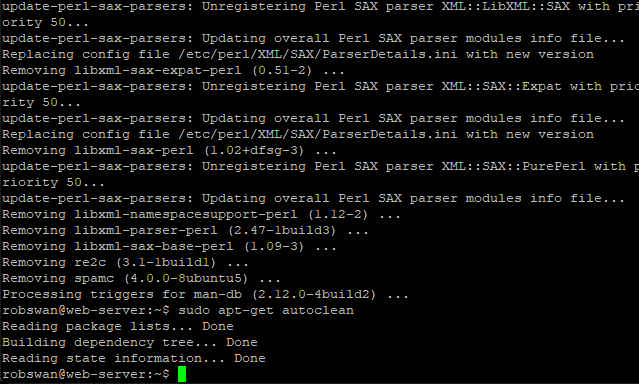
sudo apt-get remove -y spamassassin
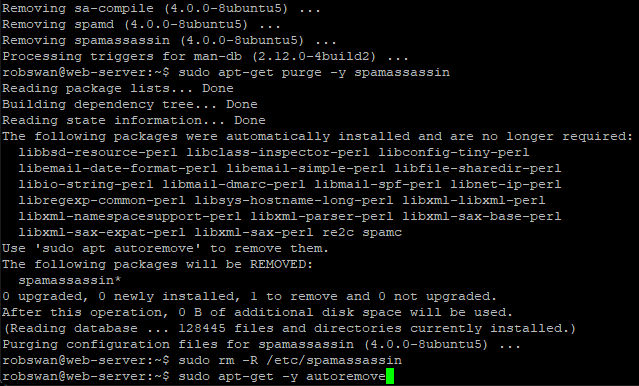
sudo apt-get purge -y spamassassin
sudo rm -R /etc/spamassassin
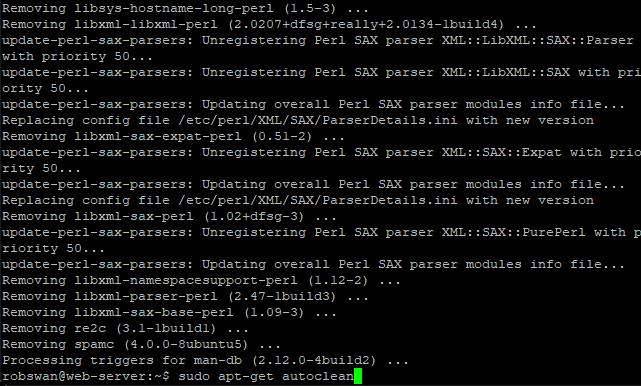
sudo apt-get -y autoremove
sudo apt-get autoclean
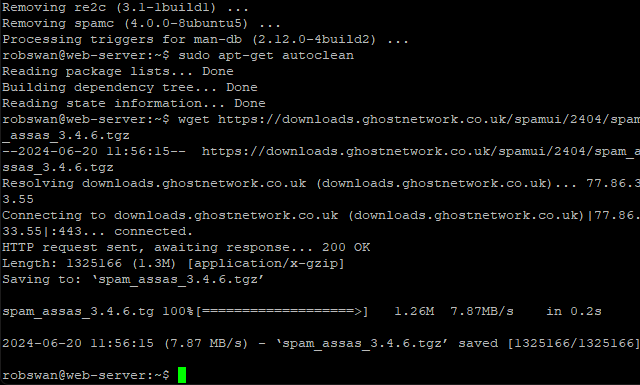
Ok, next we need to download our replacement version of Spamassasin, so issue this command.
wget https://downloads.ghostnetwork.co.uk/spamui/2404/spam_assas_3.4.6.tgz
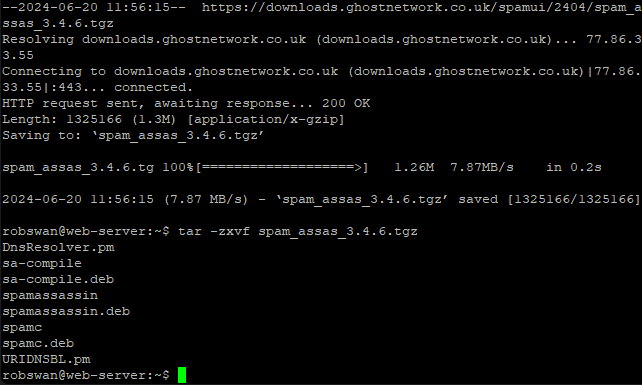
Now we need to unzip the file we just downloaded, so issue this command.
tar -zxvf spam_assas_3.4.6.tgz
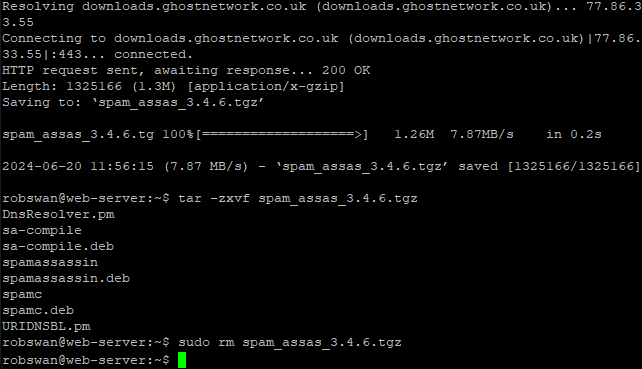
As we have unpacked all the files we need, we can now delete the archive file we just downloaded, in order to keep the system clutter free. To delete the file issue this command.
sudo rm spam_assas_3.4.6.tgz
Before we can install our replacement version of Spamassasin, we need to install some dependencies.
What do we mean by dependencies?
Spamassasin requires other application and files in order to run, we call these dependencies.
Ok, issue this command to install the dependencies.
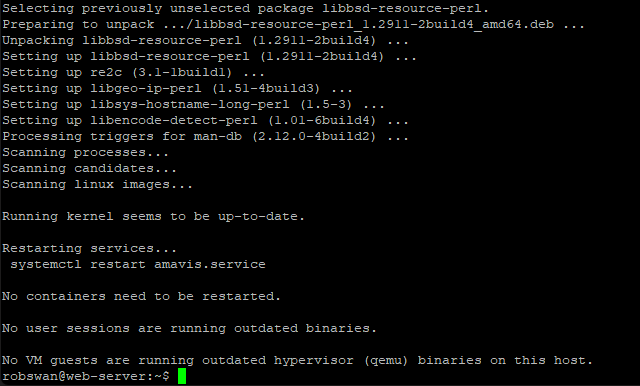
sudo apt-get install -y libbsd-resource-perl libsys-hostname-long-perl re2c libencode-detect-perl libgeo-ip-perl
Now we can install our replacement version on Spamassasin, this is done in 3 parts, the first been the main core application, then sa-compile and finally spamc.
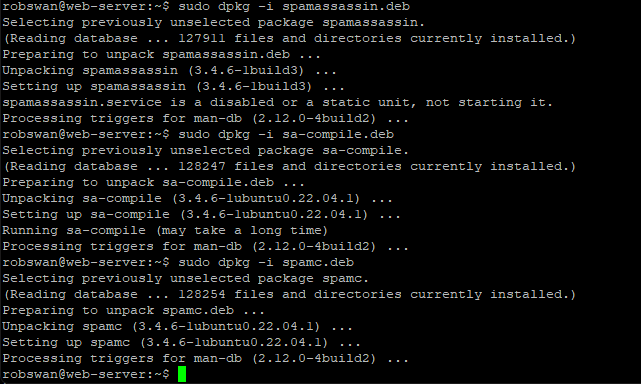
Ok, to install the main core application, issue this command.
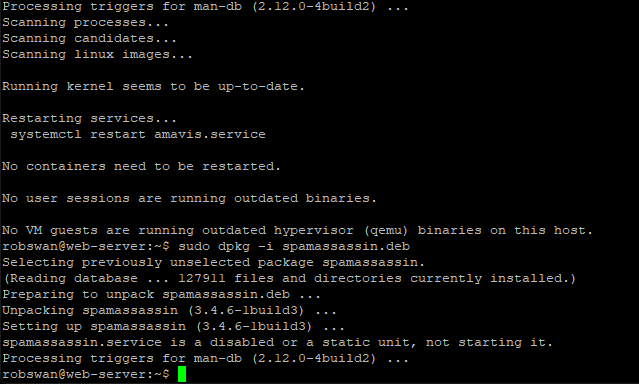
sudo dpkg -i spamassassin.deb
Next, we need sa-compile, so issue this command.
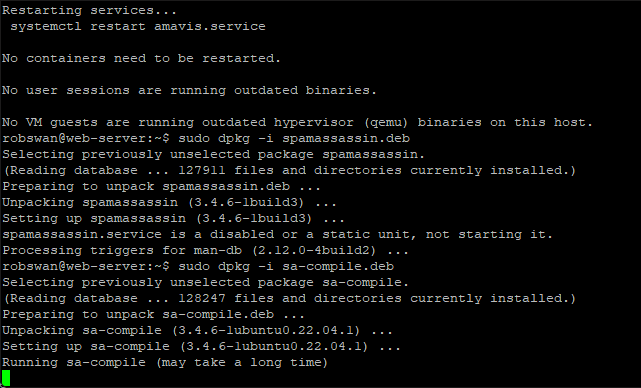
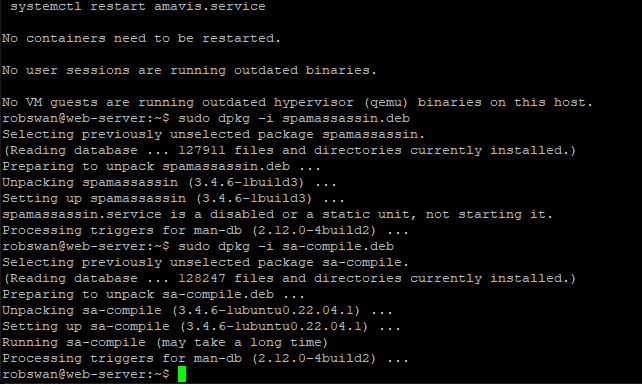
sudo dpkg -i sa-compile.deb
And finally, we need to install spamc using this command.
sudo dpkg -i spamc.deb
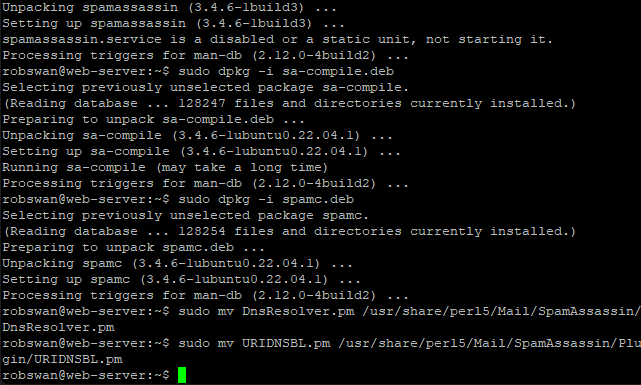
Our new version of Spamassasin has some minor compatibility issues when running on Ubuntu 24.04, to fix this we can copy some modified files across into the installation. To do this issue these two commands separately.
sudo mv DnsResolver.pm /usr/share/perl5/Mail/SpamAssassin/DnsResolver.pm
sudo mv URIDNSBL.pm /usr/share/perl5/Mail/SpamAssassin/Plugin/URIDNSBL.pm
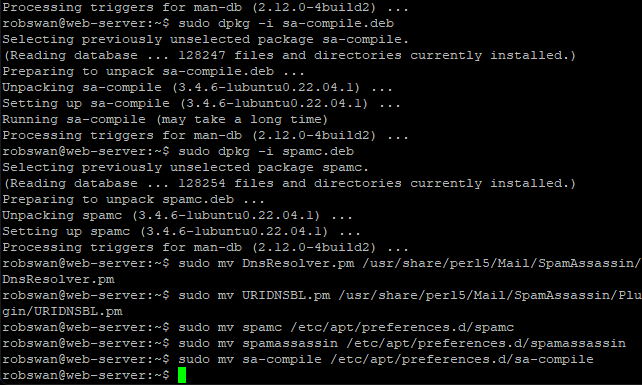
The next thing we need to do is add some rules to the ubuntu package manager to stop it simply upgrading Spamassasin, the next time we do some updates. To copy the new rules in issue these 3 commands one by one.
sudo mv spamc /etc/apt/preferences.d/spamc
sudo mv spamassassin /etc/apt/preferences.d/spamassassin
sudo mv sa-compile /etc/apt/preferences.d/sa-compile
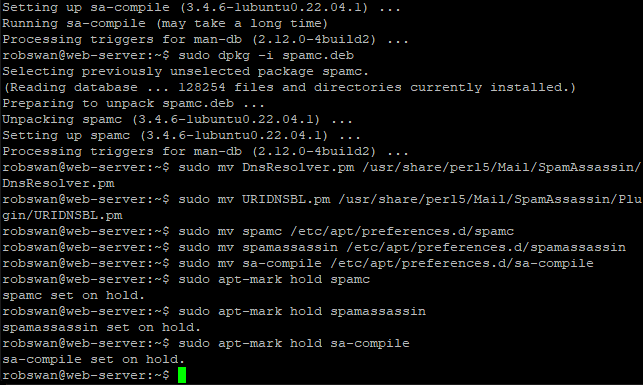
The above alone is enough to stop Ubuntu upgrading Spamassasin, however I think its best go “belt and branches” on this so also issue these 3 commands one by one.
sudo apt-mark hold spamc
sudo apt-mark hold spamassassin
sudo apt-mark hold sa-compile
Now, update the ubuntu package manager by issuing this command.
sudo apt-get update
We are almost at the end of part 1, so you can take a break soon.
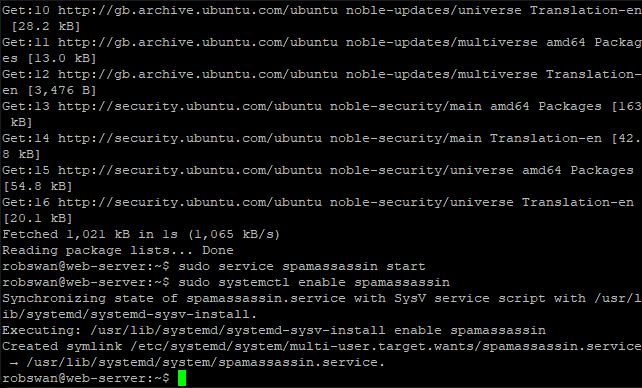
Finally, what we need to do is start the Spamassasin service and make sure it starts automatically when you reboot your server, to do this issue these two commands.
sudo service spamassassin start
sudo systemctl enable spamassassin
Its not essential, but if you want to check everything has gone to plan, you can check the Spamassasin service by issuing this command.
sudo service spamassassin status
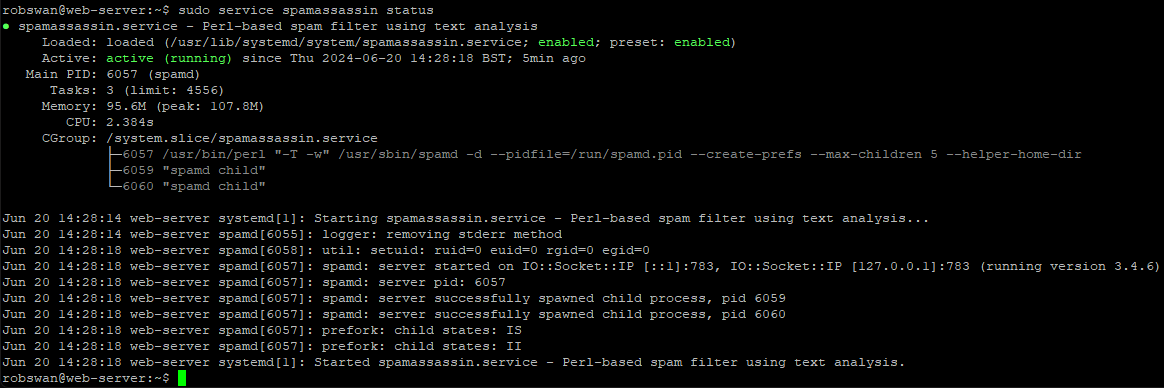
If the prompt (green cursor) does not return, press ctrl+z.
Thats the end of part 1, if you are done for now use the command exit to close PuTTY (sometimes you may need to issue the exit command trice).
------Part 2, Create a MySQL database for Spamassassin to use------
First we are going to create a new MySQL database called “spamassassin” we are going to create a new MySQL user also called “spamassassin” for Spamassassin and Roundcube to use to access the new database.
We are going to do this using Putty, before we begin make sure you have to hand the root user password for MySQL that you were given when you first installed EHCP force, also make up a new password for the new “spamassassin” user.
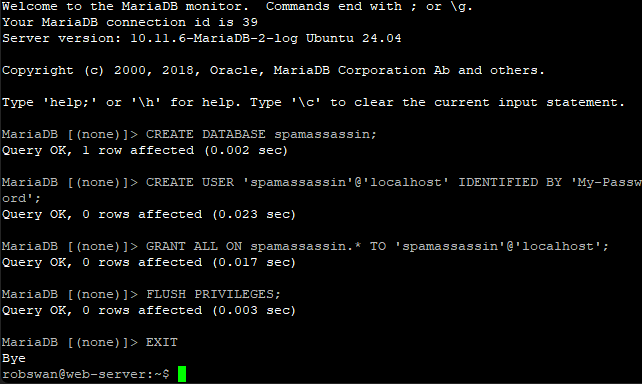
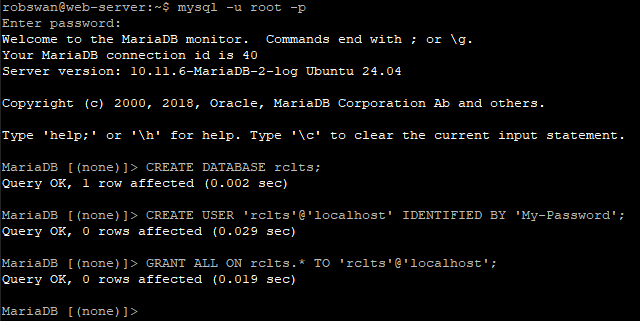
OK then, log into your server with putty and issue this command to log into MySQL, when prompted enter the MySQL root password.
mysql -u root -p
Then enter this command to create the new database.
CREATE DATABASE spamassassin;
Next issue this command replacing My-Password with your new password for user “spamassassin” that you made up.
CREATE USER 'spamassassin'@'localhost' IDENTIFIED BY 'My-Password';
Next enter this command.
GRANT ALL ON spamassassin.* TO 'spamassassin'@'localhost';
And finally these two commands.
FLUSH PRIVILEGES;
EXIT
Ok we have now created the database, next we need to create the database structure, I have created a downloadable file for you to do this as it makes it a lot easier.
To download the file use this link:
spamassassin.sql
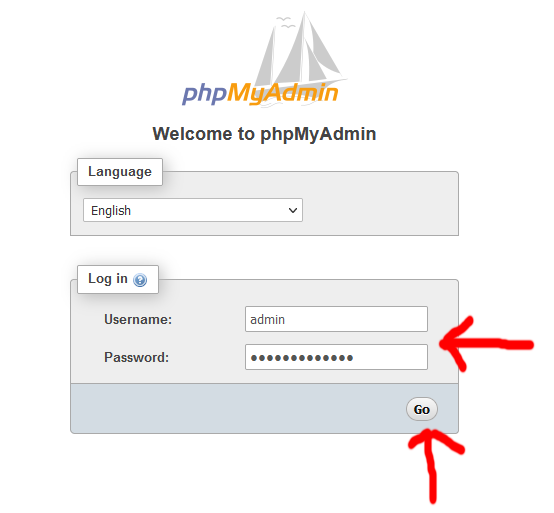
Next go to your browser and open phpMyAdmin using https://www.MyDomain.com/phpmyadmin/ (Replace MyDomain.com with your actual domain Name). Login using your Admin MySQL user that you set up earlier in the guide.
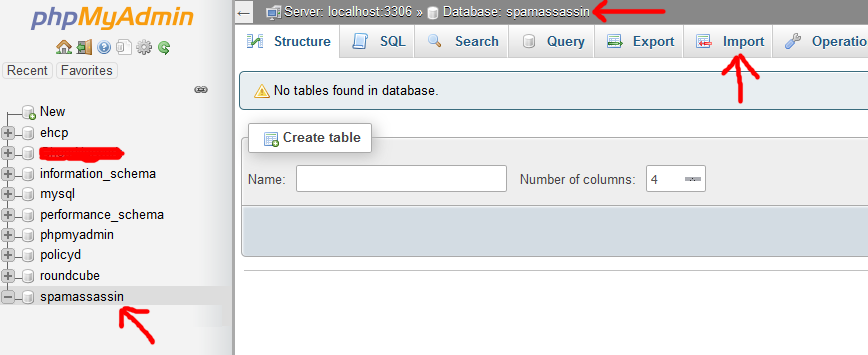
Click on the spamassassin database in the left hand pain and then click import at the top.
Next click browse and select the file that you just downloaded.
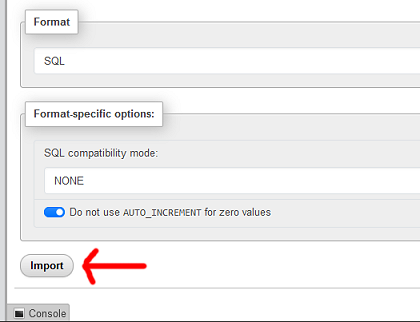
Scroll down a little and then click import, and then wait for the confirmation screen.
The confirmation screen will just be a page of ticks like this one.
The message “MySQL returned an empty result set” next to some of these ticks is normal.
If you look on the left under the spamassassin database you should notice we now have some tables in the new database.
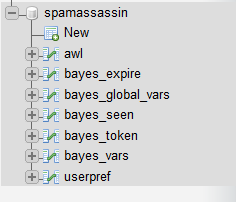
The file we imported also included some default (global) settings for Spamassassin.
If you select the userpref table you should see something like this.
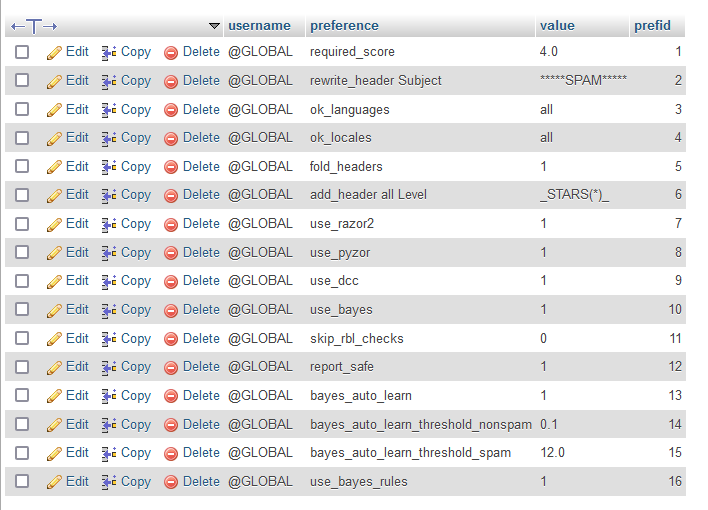
I have set the default spam threshold score as 4, which in my opinion is a good starting point.
You can look up any of these settings online to find out more, please note that each email user will have to power to set their own values within Roundcube.
The user name @GLOBAL is for defaults, when a user changes anything the username will be there email address.
Ok, that is the database created!
------Part 3, Configure Spamassassin to use your new database------
OK then let’s get on with part 3.
Ok so, in Putty issue this command to edit the main spamassassin configuration file.
sudo vi /etc/spamassassin/local.cf
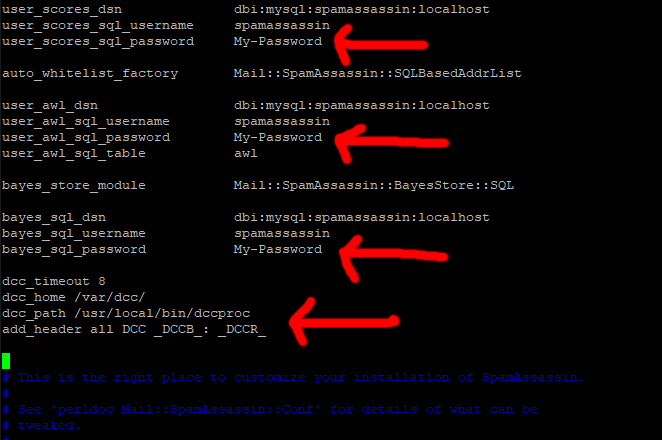
Press I for insert and paste this code in (to make it easier) right at the beginning of the file (just above “# This is the right place to customize your installation of Spamassassin.”)
Code: Select all
user_scores_dsn              dbi:mysql:spamassassin:localhost
user_scores_sql_username     spamassassin
user_scores_sql_password     My-Password

auto_whitelist_factory       Mail::SpamAssassin::SQLBasedAddrList

user_awl_dsn                 dbi:mysql:spamassassin:localhost
user_awl_sql_username        spamassassin
user_awl_sql_password        My-Password
user_awl_sql_table           awl

bayes_store_module           Mail::SpamAssassin::BayesStore::SQL

bayes_sql_dsn                dbi:mysql:spamassassin:localhost
bayes_sql_username           spamassassin
bayes_sql_password           My-Password

dcc_timeout 8
dcc_home /var/dcc/
dcc_path /usr/local/bin/dccproc
add_header all DCC _DCCB_: _DCCR_
Then scroll up through new code and each time you see My-Password change it for your spamassassin MySQL password (in 3 places).
Next, scroll down slightly to the line:
# report_contact youremailaddress@domain.tld
Change it to:-
report_contact https://www.MyDomain.com
So, we have just removed the ‘#’ and changed youremailaddress@domain.tld to our website address.
Make sure, you replace MyDomain.com with your actual domain name.
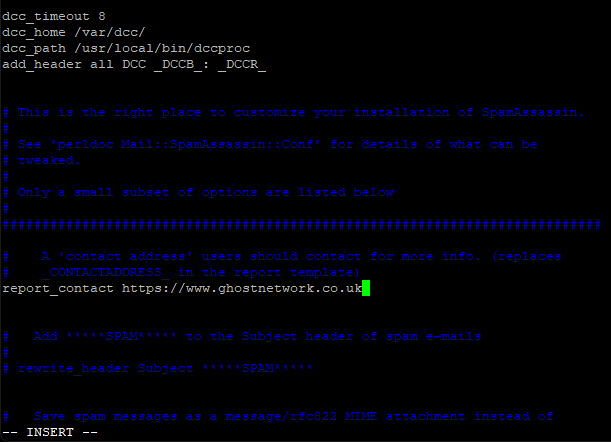
This line is technically supposed to be an email address, and not a website address, but I find it looks better if we just give a website address. As always, it’s your call.
Ok save and exit the file (Esc :w (enter) :q (enter).
Ok next we need to enable some plugins in spamassassin.
Change into root user mode, using this command.
sudo su
Next, this.
cd /etc/spamassassin/
Then this.
mv v310.pre v310.BAK
Next, we are going to get a new version of the file, we renamed.
Enter this command to get the new file.
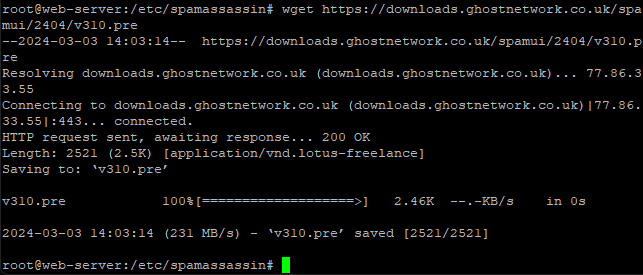
wget https://downloads.ghostnetwork.co.uk/spamui/2404/v310.pre
Come out of root user mode using this command.
exit
Ok, next we just need to activate all this so issue this command.
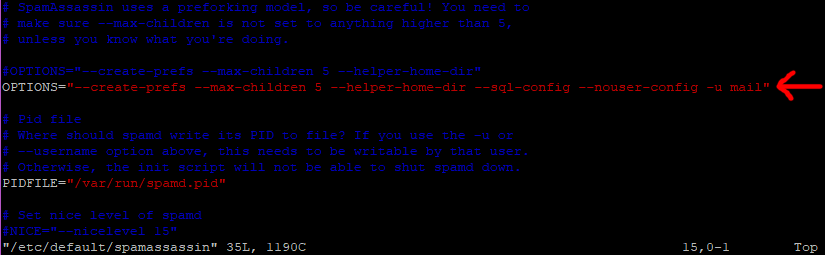
sudo vi /etc/default/spamassassin
About line 19 you will see a line that says something like.
OPTIONS="--create-prefs --max-children 5 --helper-home-dir"
Press I for insert and put a # at the beginning of the line to comment it out.
Next insert this line just under the above line.
OPTIONS="--create-prefs --max-children 5 --helper-home-dir --sql-config --nouser-config -u mail"
Ok save and exit the file (Esc :w (enter) :q (enter).
Restart Spamassassin with this command.
sudo service spamassassin restart
Ok lets just check we are connected, issue this command.
sudo service spamassassin status
You may need to make your PuTTY windows wider to check this.
All going well you should see something that looks a bit like this.
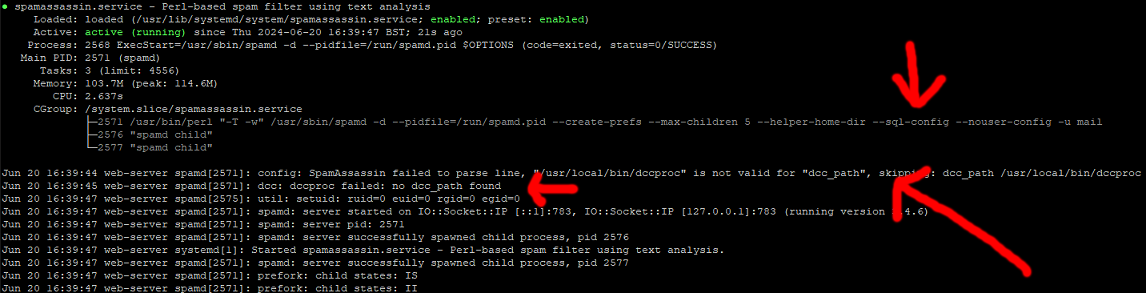
If the prompt (green cursor) does not return, press ctrl+z.
The errors you see relating to DCC, just mean we have not installed it yet, we will do this later in the topic.
OK we now have Spamassassin using MySQL, we are not quite done in this section yet though.
Next time your server reboots Spamassassin will attempt automatically to connect to the database, this can cause a problem as it may try this before MySQL has fully re-started.
As a work-around we can just create a simple script to tell Spamassassin to restart after 3 minutes in the event of a server re-boot thus fixing this issue.
Ok then, back to Putty.
Issue this command to create a new file.
sudo vi /var/www/new/ehcp/scripts/spamassrestart.sh
Press I for insert and drop this small bit of code in.
Code: Select all
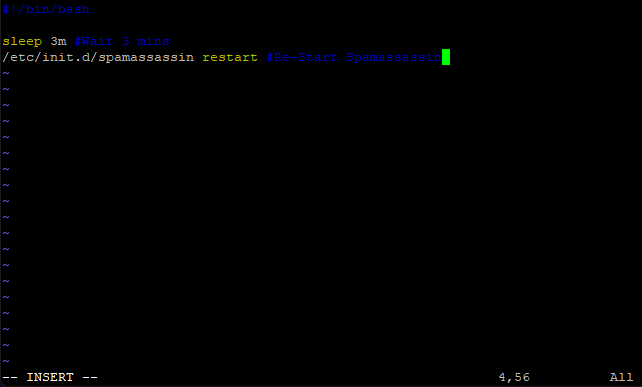
#!/bin/bash

sleep 3m #Wait 3 mins
/etc/init.d/spamassassin restart #Re-Start Spamassassin
Save and exit (Esc :w (enter) :q (enter))
Next give your new script permission the execute using this command.
sudo chmod +x /var/www/new/ehcp/scripts/spamassrestart.sh
Next issue this command.
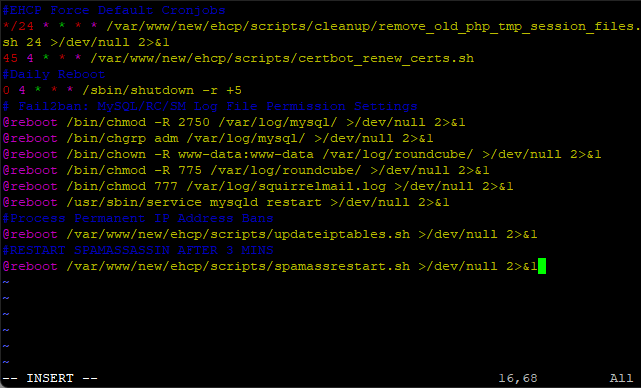
sudo crontab -e
Press I for insert and add this line at the end.
#RESTART SPAMASSASSIN AFTER 3 MINS
@reboot /var/www/new/ehcp/scripts/spamassrestart.sh >/dev/null 2>&1
So the file should look something like this.
Save and exit (Esc :w (enter) :q (enter))
Now we are done with this part!
------Part 4, Deactivate scanning via Amavis etc------
Ok, so it quite easy to deactivate scanning via Amavis.
All you have to do is edit a single file and then re-start the service.
So in Putty…
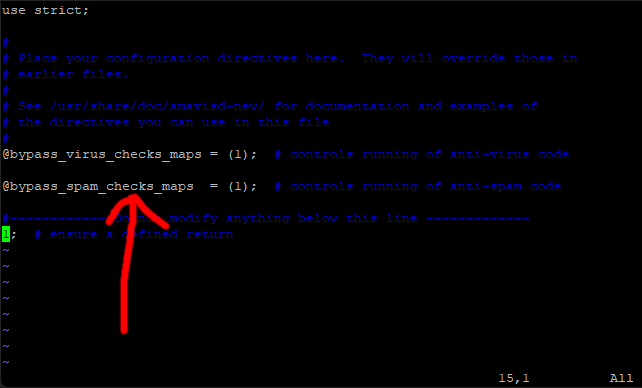
sudo vi /etc/amavis/conf.d/50-user
Press I for insert and put these lines in.
@bypass_virus_checks_maps = (1); # controls running of anti-virus code
@bypass_spam_checks_maps = (1); # controls running of anti-spam code
Put them in the same place as in this example.
Save and exit (Esc :w (enter) :q enter)
Now restart Amavis by issuing this command.
sudo service amavis restart
That is it, the link is broken!
Ok next we need to connect Spamassassin directly to postfix.
Issue this command.
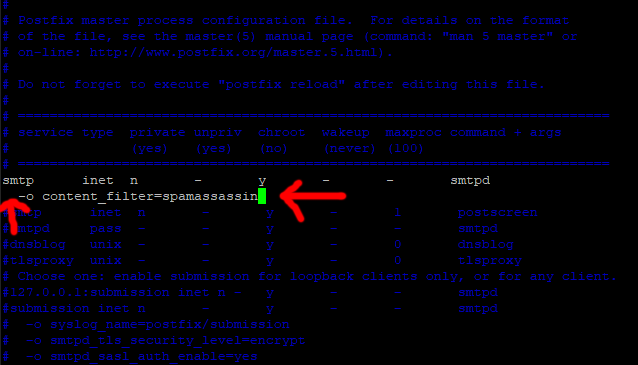
sudo vi /etc/postfix/master.cf
Find the line in the file that looks like this.
smtp inet n - y - - smtpd
It should be about line number 12
Press I for insert and insert this line under it.
-o content_filter=spamassassin
Put 2 spaces before the new line so it looks like this.
Press Escape.
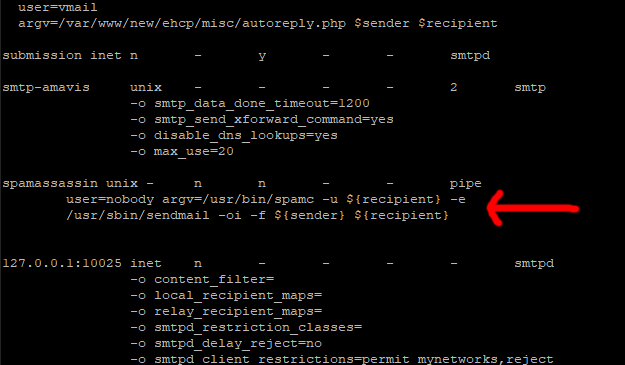
Next Scroll down through the file until you find this section.
smtp-amavis unix - - - - 2 smtp
-o smtp_data_done_timeout=1200
-o smtp_send_xforward_command=yes
-o disable_dns_lookups=yes
-o max_use=20
It should start around line 151 ish.
So under the above press I for insert make a line space or two (enter key) and drop this code in under it.
Code: Select all
spamassassin unix -     n       n       -       -       pipe
        user=nobody argv=/usr/bin/spamc -u ${recipient} -e
        /usr/sbin/sendmail -oi -f ${sender} ${recipient}
Ok Save and exit the file (Esc :w (enter) :q (enter))
Now restart both postfix and Spamassassin, to do this use these lines (one by one)
sudo service spamassassin restart
sudo service postfix restart
That should be Spamassassin hooked back up, it’s just remains to do ClamAV.
First we need to install Clamav milter, by using this command.
sudo apt-get install clamav-milter
When the install is complete we just need to configure it.
So to do this edit the Clamav milter configuration file with this command.
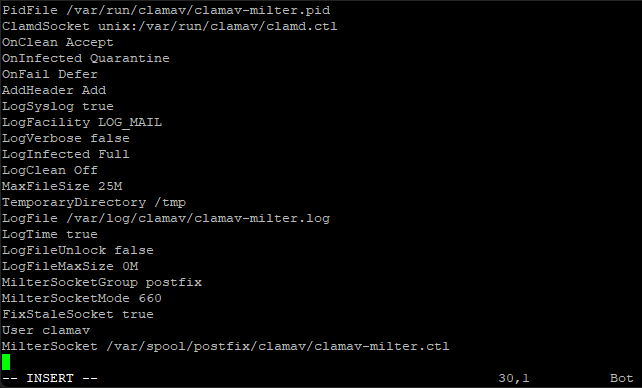
sudo vi /etc/clamav/clamav-milter.conf
Delete the entire contents of the file, press colon (:) then %, then d (enter).
Next press I for insert and paste this code in.
Code: Select all
#Automatically Generated by clamav-milter postinst
#To reconfigure clamav-milter run #dpkg-reconfigure clamav-milter
#Please read /usr/share/doc/clamav-base/README.Debian.gz for details
#
#
ReadTimeout 120
Foreground false
PidFile /var/run/clamav/clamav-milter.pid
ClamdSocket unix:/var/run/clamav/clamd.ctl
OnClean Accept
OnInfected Quarantine
OnFail Defer
AddHeader Add
LogSyslog true
LogFacility LOG_MAIL
LogVerbose false
LogInfected Full
LogClean Off
MaxFileSize 25M
TemporaryDirectory /tmp
LogFile /var/log/clamav/clamav-milter.log
LogTime true
LogFileUnlock false
LogFileMaxSize 0M
MilterSocketGroup postfix
MilterSocketMode 660
FixStaleSocket true
User clamav
MilterSocket /var/spool/postfix/clamav/clamav-milter.ctl
Save and exit the file (Esc :w (enter) :q (enter)
All that remains is to link ClamAV to postfix VIA ClamAv Milter and then restart the services.
Ok, we need to open another postfix configuration file.
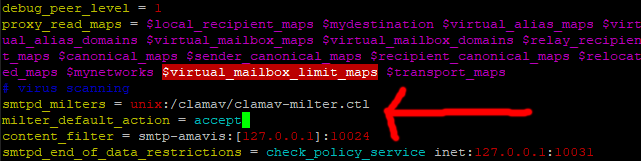
sudo vi /etc/postfix/main.cf
Find this line.
content_filter = smtp-amavis:[127.0.0.1]:10024 (maybe about line 78, and it maybe the second to last line in the file)
And add this above it. (Press I for insert)
# virus scanning
smtpd_milters = unix:/clamav/clamav-milter.ctl
milter_default_action = accept
So the file should look like this.
As per normal save and exit (Esc :w (enter) :q (enter))
Now restart the services with these commands.
sudo service clamav-milter restart
sudo service postfix restart
If you get any problems with the prompt not returning after running the above commands, press CTRL + C.
Ok it’s probably a good time to check all the services to make sure all is ok, you can do this by requesting the status of each of them using these commands.
You can use CTRL + C to close each of the status windows, if the prompt does not return.
sudo service clamav-daemon status
sudo service clamav-milter status
sudo service postfix status
sudo service spamassassin status
On one final note for this part, when Clamav milter starts after the server is re-booted it sometimes has trouble finding the main ClamAv Daemon service.
As a simple fix for this, edit the file we created for Spamassassin to re-start and add another line to re-start ClamAv-Milter at the end.
So issue this command.
sudo vi /var/www/new/ehcp/scripts/spamassrestart.sh
Press I for insert, and add this line at the end.
/etc/init.d/clamav-milter restart #Re-Start ClamAV-Milter
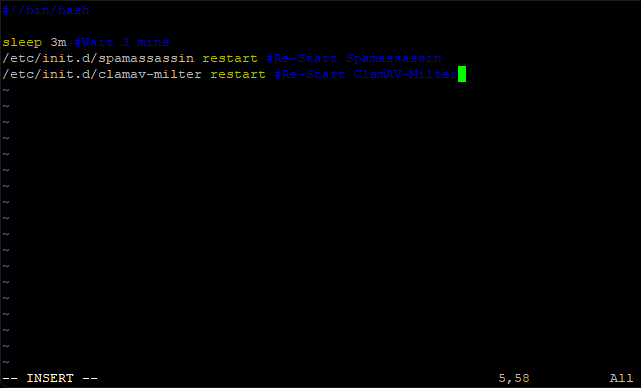
Save and exit (Esc :w (enter) :q (enter))
That is it then, this part is done!
------Part 5, Activate DCC for Spamassassin------
The DCC or Distributed Checksum Clearinghouse is a system of servers collecting and counting checksums of millions of mail messages. The counts can be used by Spamassassin to detect and reject or filter spam.
Ok then so let’s install the thing.
In Putty make sure you are in the user home folder by using this command.
cd #/
Change into root user mode with this command.
sudo su
Then download and install DCC with this code. (Paste it into PuTTY and then press enter)
Code: Select all
wget http://www.dcc-servers.net/dcc/source/dcc.tar.Z
tar xzvf dcc.tar.Z
cd dcc-*
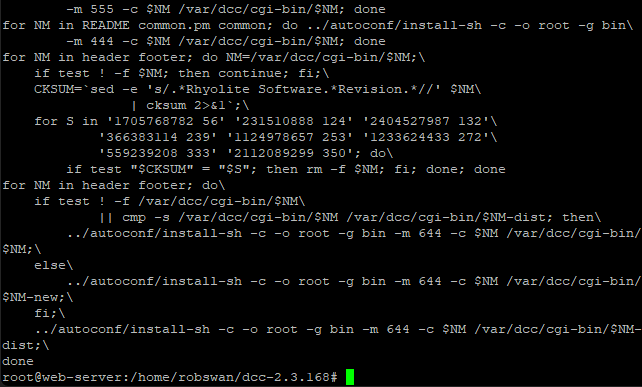
./configure && make && make install
When complete your screen should look something like this.
Once the install completes, you can now delete the DCC installer, and come out of root user mode.
Enter these commands to do the above.
cd ..
rm -R dcc-*
exit
We are done for this part.
------Part 6, Install the Roundcube LTS version------
This section is about installing the latest Roundcube LTS version.
We are not going to remove the existing version of Rouncube, so in the event you want to resort back you can do so using a single command in PuTTY.
Let’s get started.
From PuTTY, issue this command to change into root user mode.
sudo su
Then this.
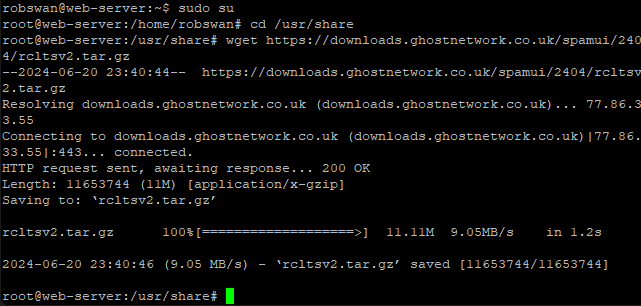
cd /usr/share
To download our new Rouncube version use this command.
wget https://downloads.ghostnetwork.co.uk/spamui/2404/rcltsv2.tar.gz
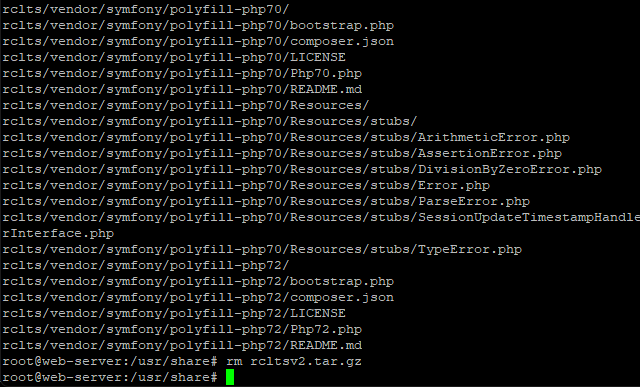
Next, we need to unpack the file, and then delete it, using these commands.
tar xzvf rcltsv2.tar.gz
rm rcltsv2.tar.gz
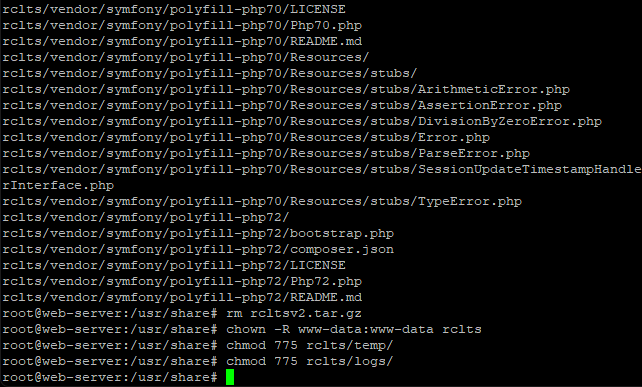
Next, we need to set the correct permissions, using these commands.
chown -R www-data:www-data rclts
chmod 775 rclts/temp/
chmod 775 rclts/logs/
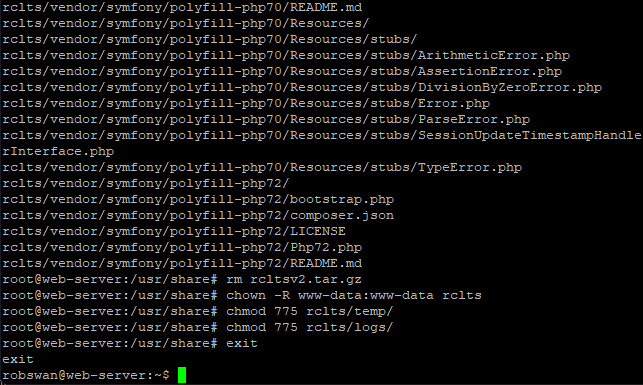
We can now come out of root user mode with this command.
exit
Where it is possible to use the existing Rouncube database, to avoid any future conflicts we are going to create a new database and user for Rouncube LTS.
So, you guessed it, you need to make up yet another password.
The Rouncube version we downloaded is partly configured by myself to save you some work, so it is important you call your new database rclts and also call the new user the same.
Finally, we will need to import the database structure, we can do this all from PuTTY.
You, will also need your MySQL root user password to hand in order to do this.
Ok, Let do it.
Enter this command.
mysql -u root -p
When prompted, enter your MySQL root user password.
Then enter this command to create the new database.
CREATE DATABASE rclts;
Next issue this command replacing My-Password with your new password for user “rclts” that you made up.
CREATE USER 'rclts'@'localhost' IDENTIFIED BY 'My-Password';
Next enter this command.
GRANT ALL ON rclts.* TO 'rclts'@'localhost';
Now these commands.
USE rclts;
SOURCE /usr/share/rclts/rclts.sql;
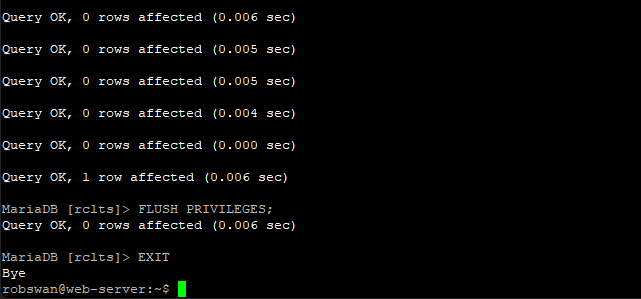
And finally, these two commands.
FLUSH PRIVILEGES;
EXIT
We need to tell our new version of Roundcube two MySQL passwords, the first being the new rclts user password that we just set up, the second being the Spamassassin user password we set up way back in part 1 of this topic.
For the first one enter this command in PuTTY.
sudo vi /usr/share/rclts/config/debian-db.php
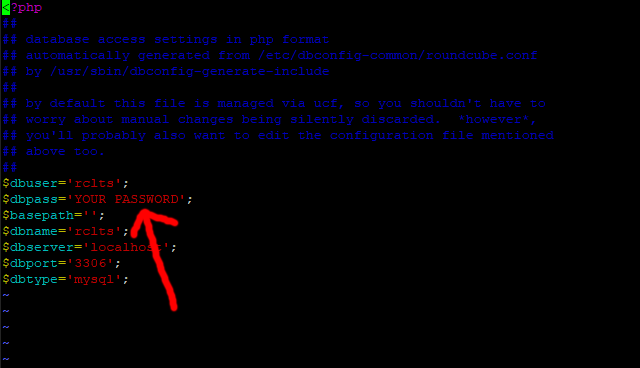
Move your cursor down to line 13, press I for insert and change YOUR PASSWORD to your new rclts password.
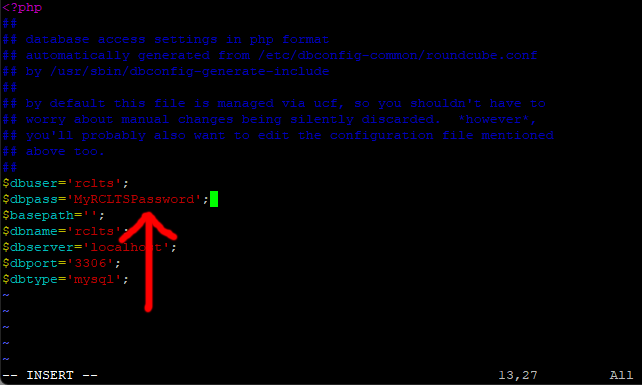
Save and exit (Esc :w (enter) :q (enter))
Ok, for the second password its this command.
sudo vi /usr/share/rclts/plugins/sauserprefs/config.inc.php
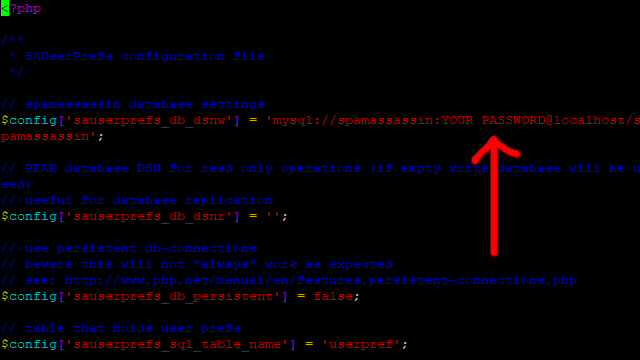
Move your cursor down to line 8, press I for insert and change YOUR PASSWORD to your Spamassassin password.
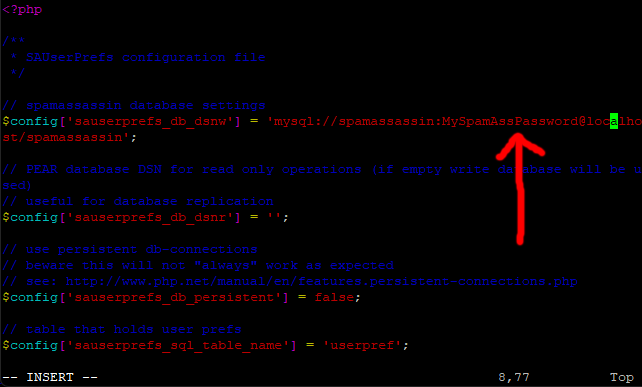
Save and exit (Esc :w (enter) :q (enter))
Ok, its time for the final step.
As of now, if you were to log into Roundcube nothing would have changed as you are still using the version that was installed by EHCP force.
To change to our new version of Roundcube we need to enter one last command.
sudo ln -sfn /usr/share/rclts/ /var/www/new/ehcp/webmail
The good thing is that at any time your can change back to your old Roundcube version, with another simple command. This will of course turn off the Spamassassin user interface we just spent all this time setting up.
This is the command.
DO NOT ENTER THIS COMMAND.
sudo ln -sfn /usr/share/roundcube/ /var/www/new/ehcp/webmail
And then to go back to our new version, you can enter the first command again (sudo ln -sfn /usr/share/rclts/ /var/www/new/ehcp/webmail). You can change between Roundcube versions as often as you want!
------Part 7, Testing, using and final notes------
Ok, send an email to one of your server email addresses from an email account not hosted on your server.
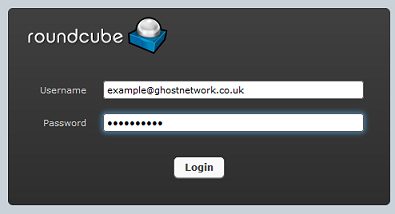
Log into Roundcube webmail (on your server) with the account that you sent the email to.
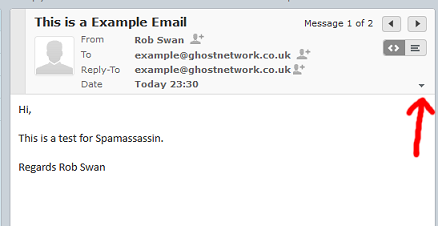
Open the email that you sent once it has been received.
At the top right hand side of the email click the little down arrow to display the email header code.
Look for this line
X-Spam-Checker-Version:
It should have next to it something along the lines of.
SpamAssassin 3.4.6 (2021-04-09) on web-server
This tells us that Spamassassin is working and it has looked at this email.
Next, look for this line.
X-Spam-Status:
It should have something like this next to it.
No, score=0.5 required=4.0 tests=AWL,DCC_REPUT_70_89,
DKIM_SIGNED,DKIM_VALID,DKIM_VALID_AU,HTML_FONT_LOW_CONTRAST,
HTML_IMAGE_RATIO_04,HTML_MESSAGE autolearn=ham autolearn_force=no
version=3.4.6
It’s this bit we are most concerned with.
No, score=0.5 required=4.0
This is telling us that this email has a spam score of 0.5 which means it is not seen as spam, in order to be spam it would need a score of 4.00 or above.
You may see something like this.
X-Spam-DCC:
It may have something like this next to it.
wuwien: web-server 1290; Body=1 Fuz1=1 Fuz2=1 rep=71%
This is just telling us that DCC, checked the email.
You may also see in the header this line which may be blank, this is normal.
X-Spam-Level:
Next just scroll down to the lower part of the header to see if the email was virus scanned.
You should see something along the lines of:
X-Virus-Status: Clean
X-Virus-Scanned: clamav-milter 1.0.5 at web-server
Ok, if you have all that (or similar) in the header we are all working (so far anyway)
Ok, the default required spam score is set to 4.00, but say this particular user wanted his spam required spam score set to 3.0, this is how they would do it.
Click on settings (top right)
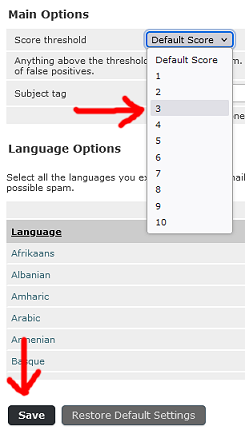
Then Junk (or Spam) then General settings.
In the drop down next to Score threshold change the setting to 3
Next click save.
Next send yourself another email, and this time in the header it should say.
X-Spam-Status: No, score=0.5 required=3.0
Ok, say the user wanted to blacklist an email address (tell spamassassin that all mails from this address should be treated as spam)
Go back to settings, then Junk (or Spam), then Address Rules.
From the drop down box select Reject Mail From, then in the box add the email address that you are sending test mails form (we can undo this later) and then click add rule.
Finally click Save.
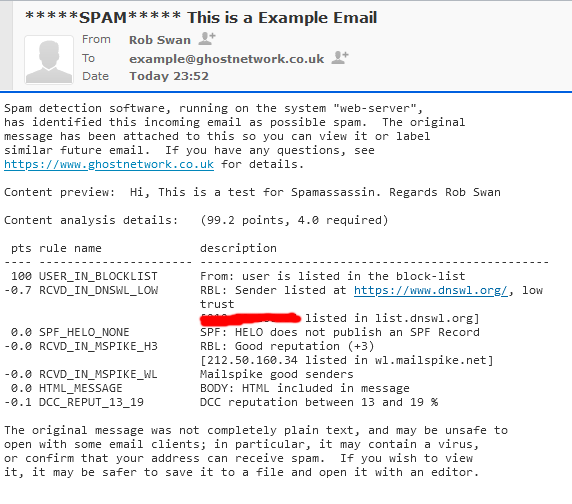
Now send yourself another test email and examine the header code (will be in the Junk or Spam folder), and notice what is in the subject line.

You may see something like this in the header.
X-Spam-Flag: YES
X-Spam-Status: Yes, score=99.2 required=3.0
X-Spam-Level: **************************************************
You may also notice the actual message is different also!
Now go back to your Junk (or spam) settings and delete your email address from the list of rejected email addresses (click save).
Ok next, send yourself one last test email.
With the email highlighted click the Junk (or Spam) button at the top.

The email will be moved to the Spam folder and also added the Spamassassin rejected senders list just like the above.
To undo this, go to the junk (or Spam) folder and select the relevant message, click not Not Junk (or Not Spam), the email will be moved back to the Inbox and also removed from the Spamassassin rejected senders list, and added to the Spamassassin accepted senders list (white list).
So if you have told Roundcube that an email is junk (or spam) with the toolbar button, it will be marked as Junk (or spam), and moved to the Junk folder.
Now have a play with all the stetting so you get used to it!
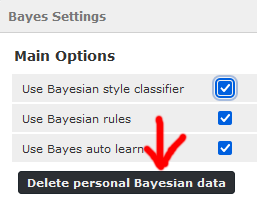
When you have finished, as you are just playing it is probably a good idea to go to the Junk (or Spam) settings and then Bayes Settings, and then click Delete personal Bayesian data.
And Finally WE ARE DONE!