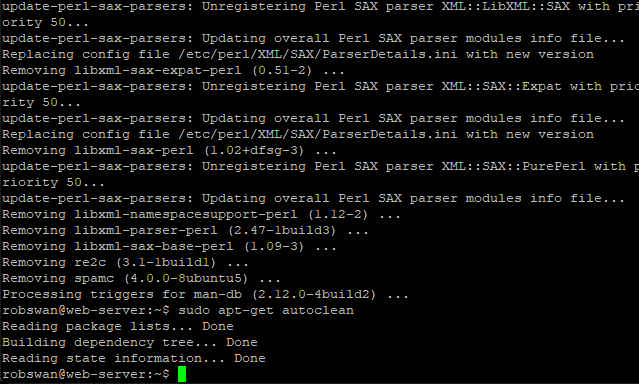
This post is ONLY for those that followed the procedure on this website prior to the 27/06/24, to set up a user interface for Spamassasin. If you did use the old method, you don’t need to change anything, however the old method did have some inefficiencies, for example system log entries like in this picture.

What will I gain, if I make this change?
From a user’s stand point, absolutely nothing. From a technical stand point better efficiency.
Seriously you do not need to do this, as it could leave you in a big mess, if the procedure fails.
If you really want to do this (I wouldn’t) then read on.
The order of play.
1. Downgrade Spamassasin.
2. Edit the Spamassasin MySQL database.
3. Configure Spamassassin to use your existing database.
4. Edit the sauserprefs plugin within Roundcube LTS.
------Part 1, Downgrade Spamassassin------
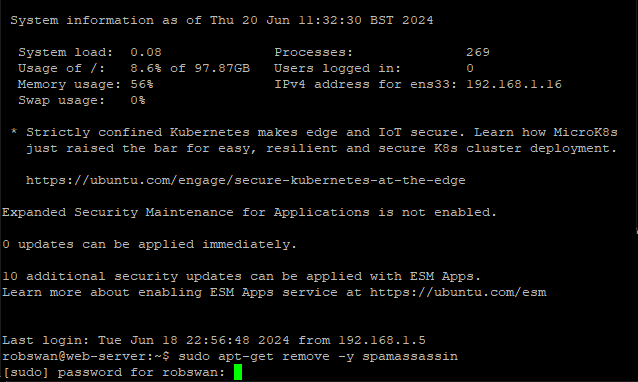
Log into your server using your PC and PuTTY.
Issue these commands one by one, to remove the current version of Spamassasin.
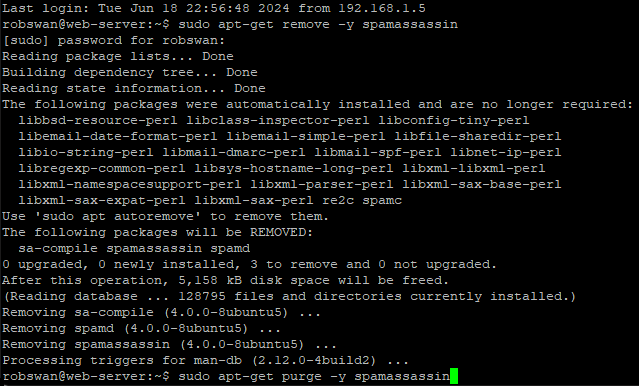
sudo apt-get remove -y spamassassin
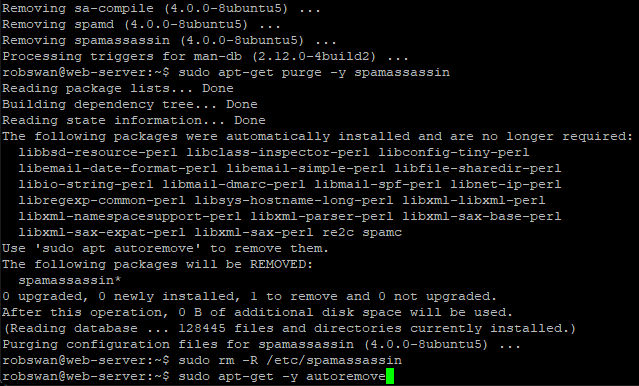
sudo apt-get purge -y spamassassin
sudo rm -R /etc/spamassassin
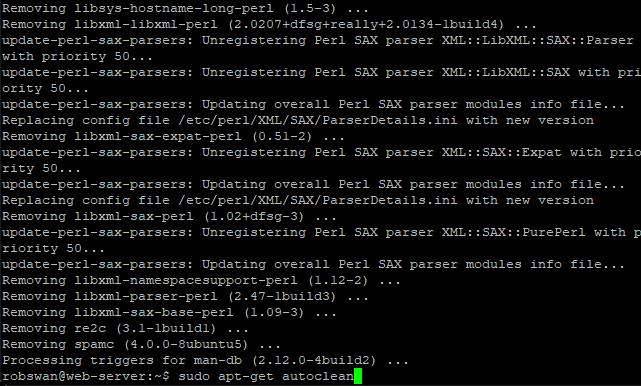
sudo apt-get -y autoremove
sudo apt-get autoclean
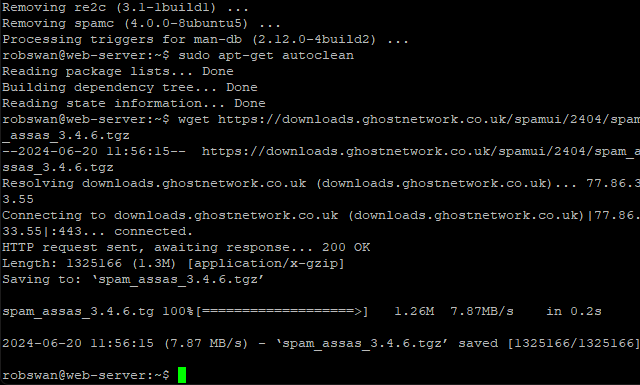
Ok, next we need to download our replacement version of Spamassasin, so issue this command.
wget https://downloads.ghostnetwork.co.uk/spamui/2404/spam_assas_3.4.6.tgz
Now we need to unzip the file we just downloaded, so issue this command.
tar -zxvf spam_assas_3.4.6.tgz
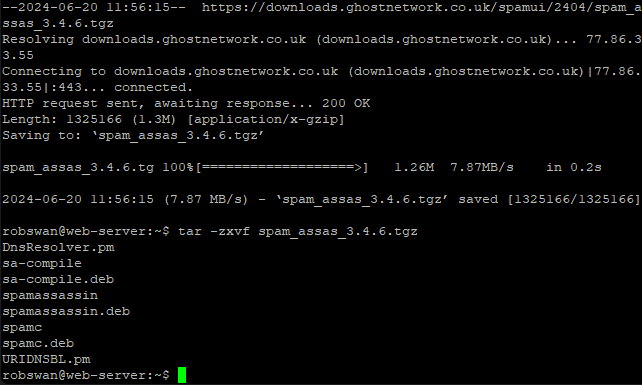
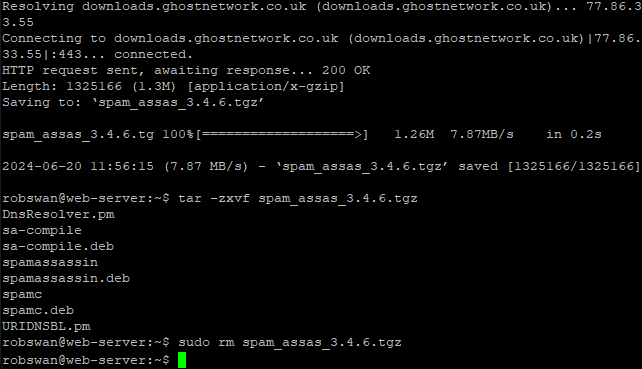
As we have unpacked all the files we need, we can now delete the archive file we just downloaded, in order to keep the system clutter free. To delete the file issue this command.
sudo rm spam_assas_3.4.6.tgz
Before we can install our replacement version of Spamassasin, we need to install some dependencies.
What do we mean by dependencies?
Spamassasin requires other application and files in order to run, we call these dependencies.
Ok, issue this command to install the dependencies.
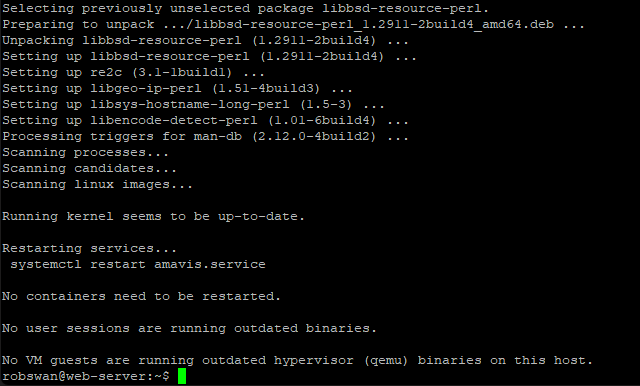
sudo apt-get install -y libbsd-resource-perl libsys-hostname-long-perl re2c libencode-detect-perl libgeo-ip-perl
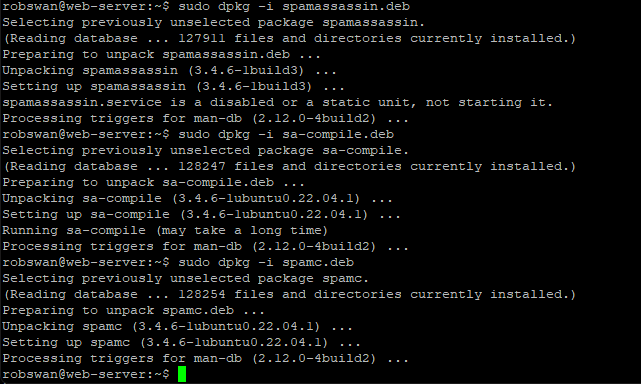
Now we can install our replacement version on Spamassasin, this is done in 3 parts, the first been the main core application, then sa-compile and finally spamc.
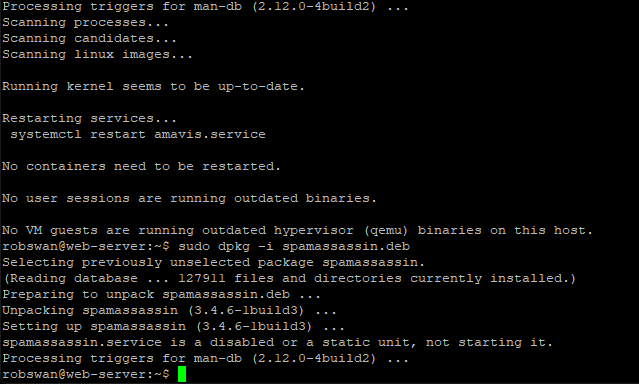
Ok, to install the main core application, issue this command.
sudo dpkg -i spamassassin.deb
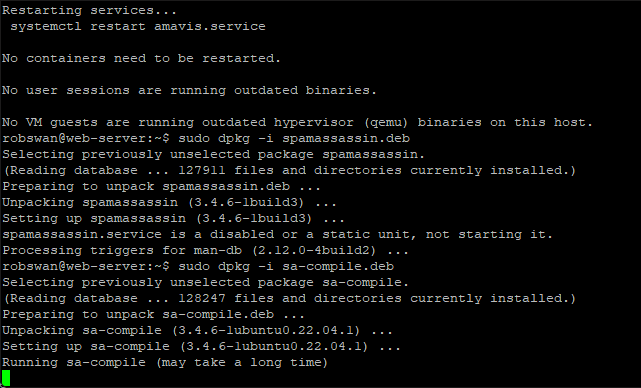
Next, we need sa-compile, so issue this command.
sudo dpkg -i sa-compile.deb
And finally, we need to install spamc using this command.
sudo dpkg -i spamc.deb
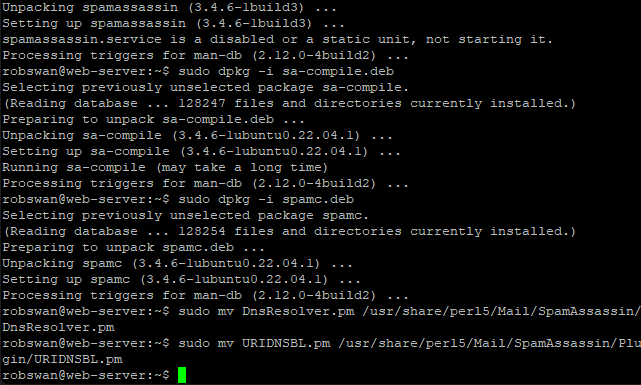
Our new version of Spamassasin has some minor compatibility issues when running on Ubuntu 24.04, to fix this we can copy some modified files across into the installation. To do this issue these two commands separately.
sudo mv DnsResolver.pm /usr/share/perl5/Mail/SpamAssassin/DnsResolver.pm
sudo mv URIDNSBL.pm /usr/share/perl5/Mail/SpamAssassin/Plugin/URIDNSBL.pm
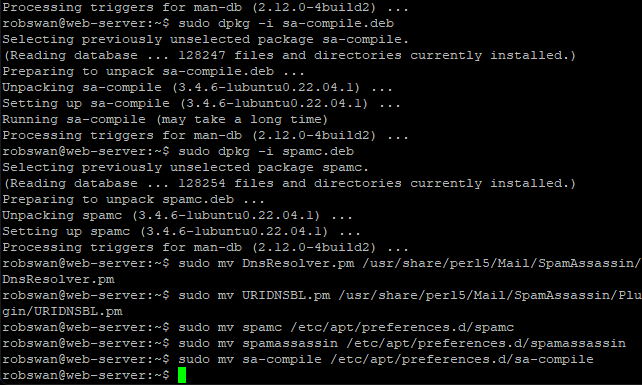
The next thing we need to do is add some rules to the ubuntu package manager to stop it simply upgrading Spamassasin, the next time we do some updates. To copy the new rules in issue these 3 commands one by one.
sudo mv spamc /etc/apt/preferences.d/spamc
sudo mv spamassassin /etc/apt/preferences.d/spamassassin
sudo mv sa-compile /etc/apt/preferences.d/sa-compile
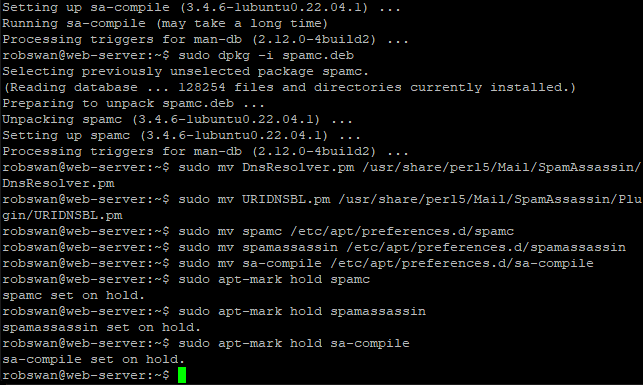
The above alone is enough to stop Ubuntu upgrading Spamassasin, however I think its best go “belt and branches” on this so also issue these 3 commands one by one.
sudo apt-mark hold spamc
sudo apt-mark hold spamassassin
sudo apt-mark hold sa-compile
Now, update the ubuntu package manager by issuing this command.
sudo apt-get update
We are almost at the end of part 1, so you can take a break soon.
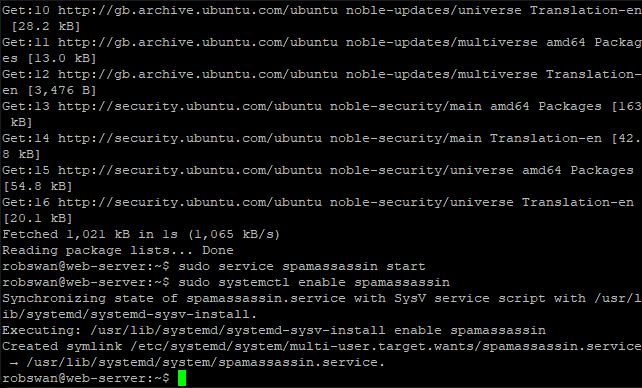
Finally, what we need to do is start the Spamassasin service and make sure it starts automatically when you reboot your server, to do this issue these two commands.
sudo service spamassassin start
sudo systemctl enable spamassassin
Its not essential, but if you want to check everything has gone to plan, you can check the Spamassasin service by issuing this command.
sudo service spamassassin status
If the prompt (green cursor) does not return, press ctrl+z.
Thats the end of part 1, if you are done for now use the command exit to close PuTTY (sometimes you may need to issue the exit command trice).
------Part 2, Edit the Spamassasin MySQL database------
The chances are that your Spamassasin database, that you previously set up when you followed the original post is an older version. This being the case we need to make a slight change to it.
In order to do this log onto PhpMyAdmin, using your admin user.
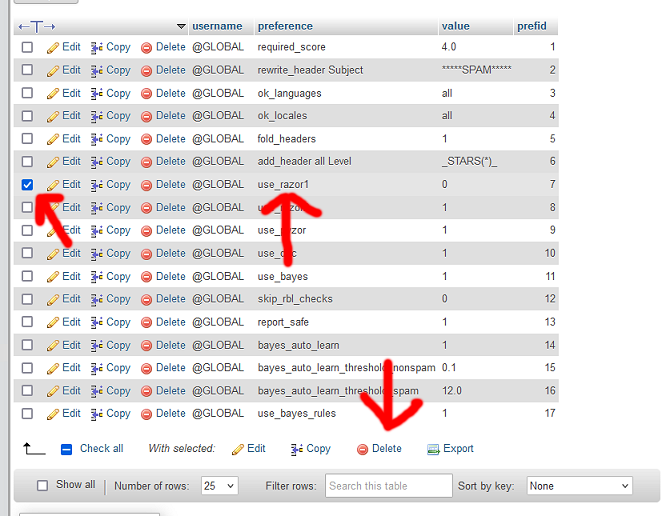
Click on the Spamassasin database in the left column.
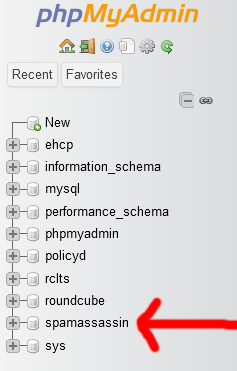
Next, click on the userpref table.

If you don’t see an entry for use_razor1 (in the preference column), then no change is required, so you can log out of phpMyAdmin.
If, you see the entry for use_razor1, click the check box to select it, and then click delete.
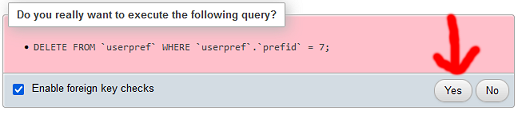
Then, click yes (to execute the query).
You can now logout of phpMyAdmin, as our work is done for this part.
------Part 3, Configure Spamassassin to use your existing database------
In order to do this, you will need your MySQL Spamassassin user password that you setup when you followed the original post. If you cannot remember it, it can be retrieved from the sauserprefs config file (sudo vi /usr/share/rclts/plugins/sauserprefs/config.inc.php) its on line 8 in between spamassassin: and @localhost/spamassassin.
OK then let’s get on with part 3.
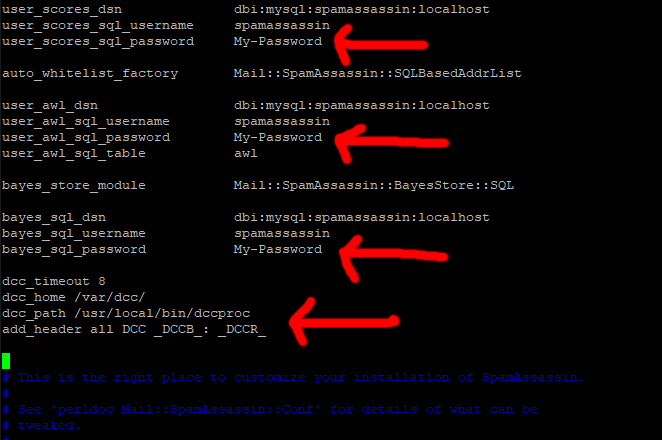
Ok so, in Putty issue this command to edit the main spamassassin configuration file.
sudo vi /etc/spamassassin/local.cf
Press I for insert and paste this code in (to make it easier) right at the beginning of the file (just above “# This is the right place to customize your installation of Spamassassin.”)
Code: Select all
user_scores_dsn              dbi:mysql:spamassassin:localhost
user_scores_sql_username     spamassassin
user_scores_sql_password     My-Password

auto_whitelist_factory       Mail::SpamAssassin::SQLBasedAddrList

user_awl_dsn                 dbi:mysql:spamassassin:localhost
user_awl_sql_username        spamassassin
user_awl_sql_password        My-Password
user_awl_sql_table           awl

bayes_store_module           Mail::SpamAssassin::BayesStore::SQL

bayes_sql_dsn                dbi:mysql:spamassassin:localhost
bayes_sql_username           spamassassin
bayes_sql_password           My-Password

dcc_timeout 8
dcc_home /var/dcc/
dcc_path /usr/local/bin/dccproc
add_header all DCC _DCCB_: _DCCR_
Then scroll up through new code and each time you see My-Password change it for your spamassassin MySQL password (in 3 places).
Next, scroll down slightly to the line:
# report_contact youremailaddress@domain.tld
Change it to:-
report_contact https://www.MyDomain.com
So, we have just removed the ‘#’ and changed youremailaddress@domain.tld to our website address.
Make sure, you replace MyDomain.com with your actual domain name.
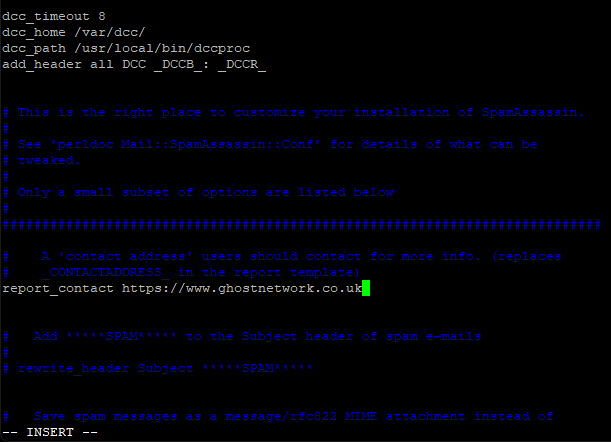
This line is technically supposed to be an email address, and not a website address, but I find it looks better if we just give a website address. As always, it’s your call.
Ok save and exit the file (Esc :w (enter) :q (enter).
Ok next we need to enable some plugins in spamassassin.
Change into root user mode, using this command.
sudo su
Next, this.
cd /etc/spamassassin/
Then this.
mv v310.pre v310.BAK
Next, we are going to get a new version of the file, we renamed.
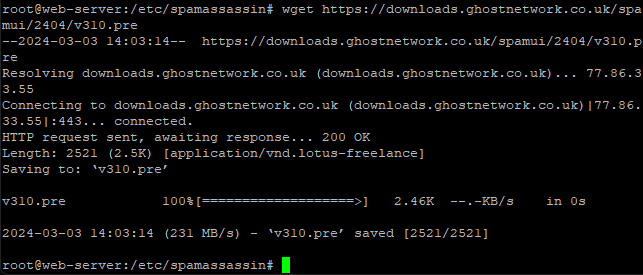
Enter this command to get the new file.
wget https://downloads.ghostnetwork.co.uk/spamui/2404/v310.pre
Come out of root user mode using this command.
exit
Ok, next we just need to activate all this so issue this command.
sudo vi /etc/default/spamassassin
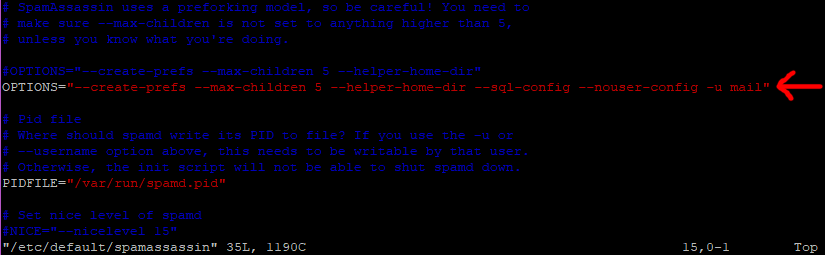
About line 19 you will see a line that says something like.
OPTIONS="--create-prefs --max-children 5 --helper-home-dir"
Press I for insert and put a # at the beginning of the line to comment it out.
Next insert this line just under the above line.
OPTIONS="--create-prefs --max-children 5 --helper-home-dir --sql-config --nouser-config -u mail"
Ok save and exit the file (Esc :w (enter) :q (enter).
Restart Spamassassin with this command.
sudo service spamassassin restart
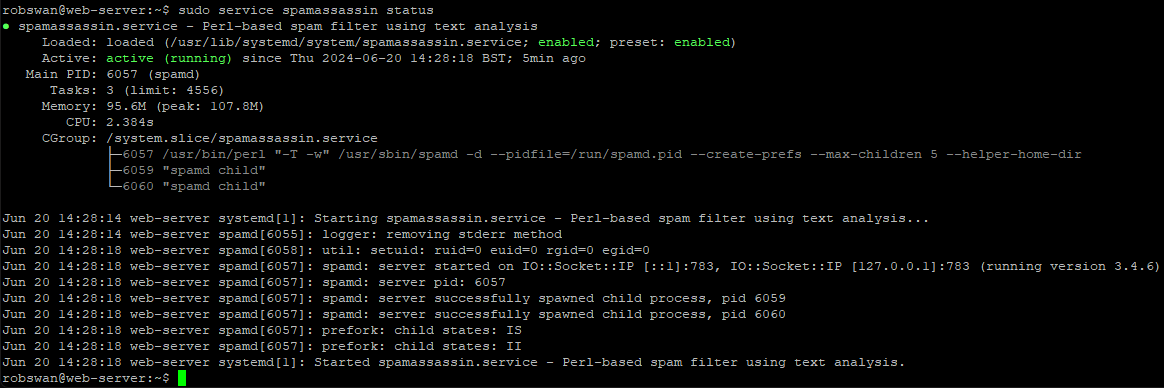
Ok lets just check we are connected, issue this command.
sudo service spamassassin status
You may need to make your PuTTY windows wider to check this.
All going well you should see something that looks a bit like this.

If the prompt (green cursor) does not return, press ctrl+z.
When you followed the old post, we created a file to restart Spamassassin after 3 minutes, we need to edit that file so it works with our replacement version of Spamassassin. Issue this command to edit the file.
sudo vi /var/www/new/ehcp/scripts/spamassrestart.sh
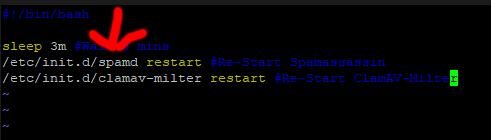
Press I for insert and change spamd to spamassassin (all lower case).
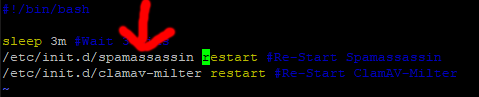
Save and exit (Esc :w (enter) :q (enter))
Now we are done with this part!
------Part 4, Edit the sauserprefs plugin within Roundcube LTS------
In this part we are going to make some slight efficiency tweaks to sauserprefs.
Ok, let get started.
So again, in PuTTY, change into root user mode using this command.
sudo su
Then this.
cd /usr/share/rclts/plugins/sauserprefs
Open the main configuration file, using this command.
vi config.inc.php
Scroll down to the line that says 'use_razor1' => 0, (should be about line 87)
Place your cursor on the comma (,) at the end of the line.
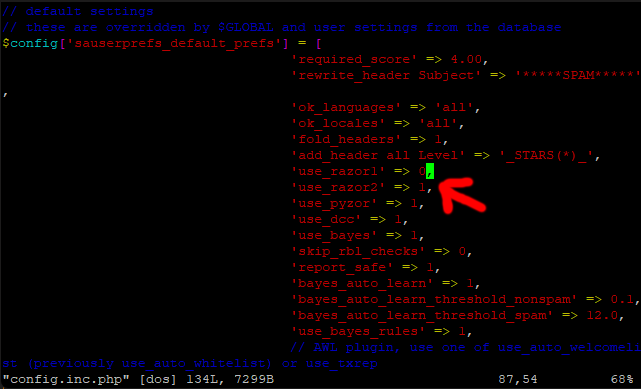
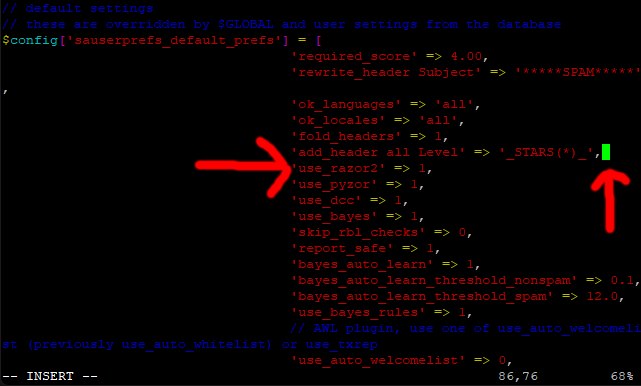
Press I for insert, then press the right arrow key to move your cursor one space to the right, then using the (backspace) delete key, delete the entire line.
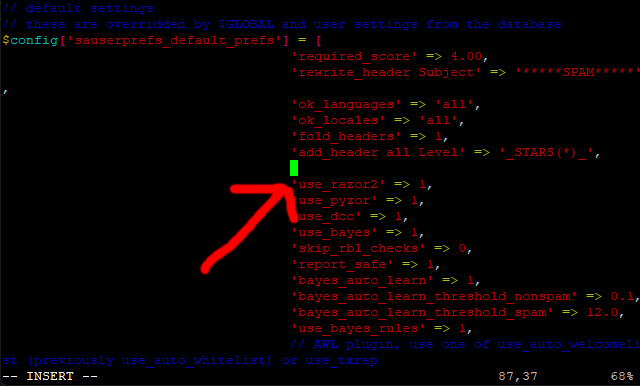
Keep pressing the (backspace) delete key slowly until you remove the empty line space.
If you make a mistake, you can press escape, then :q! (enter) to discard the changes, and then you can try again.
When you are sure the file is correct, you can save the changes and exit (escape :w (enter) :q (enter)).
Next, enter this command.
mv sauserprefs.php sauserprefs.BAK
Then this.
wget https://downloads.ghostnetwork.co.uk/spamui/2404/sauserprefs.txt -O sauserprefs.php
So, we have just replaced the file sauserprefs.php with a slightly modified version.
So, assuming everything went to plan, that should be it.
We are done here!