Now cast your mind back to when we first installed Ubuntu server and we called our server Web-Server. Your server will be as we speak trying to send emails to root@Web-Server which of course is not a valid email address.
Now make up and email address at your new domain name to receive these emails (we will add it to your server later).
So let’s say you want to use Admin@YouNewDoamin.co.uk (replace YouNewDomain.co.uk with your actual new domain name).
First type this command
sudo vi /etc/postfix/main.cf (press enter) (you may need to re-enter your password).


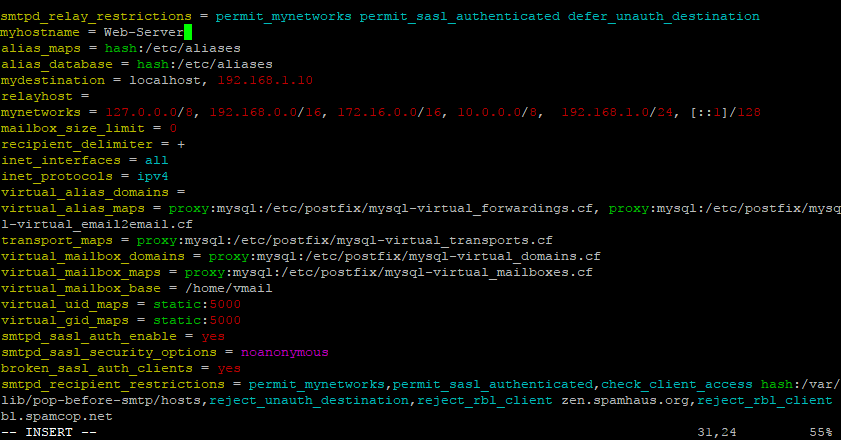
Cursor down to this line.
myhostname = Web-Server. (Place your cursor at the end of the line on the r of Web-Server)

Press I (for insert), press the right arrow key so you cursor it on the next position after the r of Web-Server
Press enter for a new line.
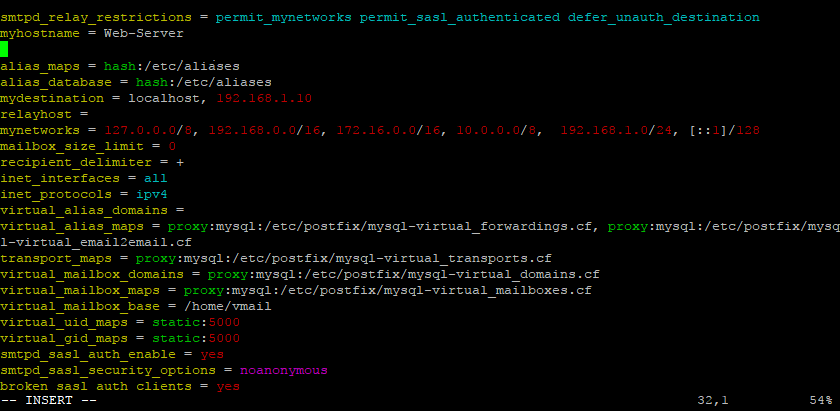
Add this line.
canonical_maps = hash:/etc/postfix/canonical
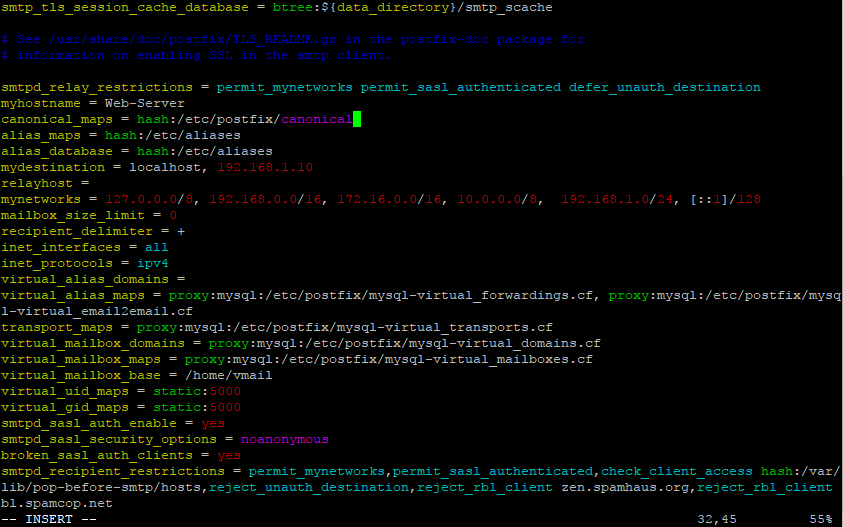
Press Escape.

Press : (colon)
A colon should appear at the bottom of the screen.

Press w
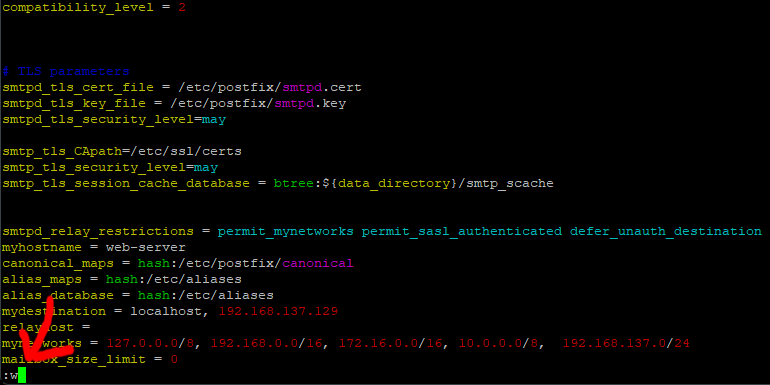
Now press enter.
You have now saved the changes to the file.
No press : (colon) again, and then q (press enter) to exit the editor.
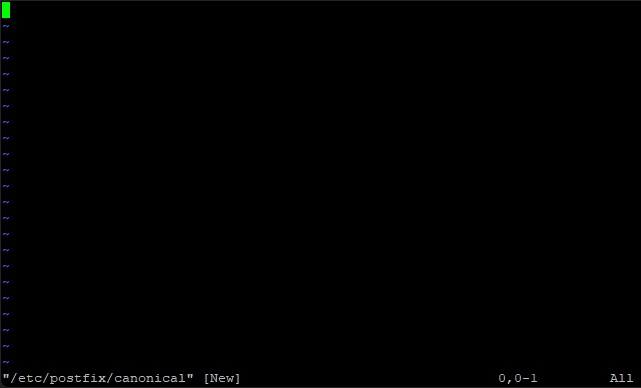
Now type this command.
sudo vi /etc/postfix/canonical (enter) (you may as allays need to re-enter your password).
We are now creating a new file with a single line in it.
Press I for insert.
Put this line in
@web-server admin@YouNewDomain.co.uk
Remember: replace YouNewDomain.co.uk with your actual new domain name)
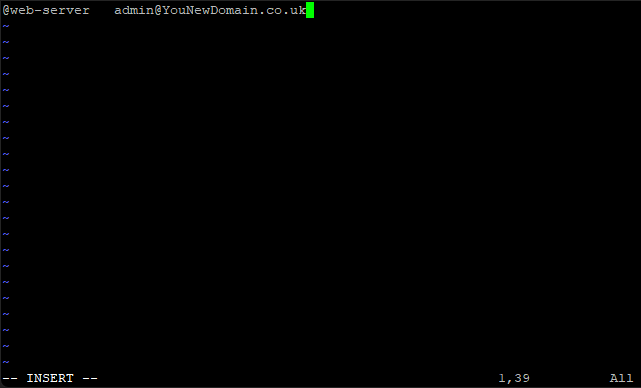
Just to make this absolutely clear it should NOT have @YouNewDoamin.co.uk in it, it should be your new domain name instead.
So if your new domain was call FredBlogs.co.uk it would look like this.
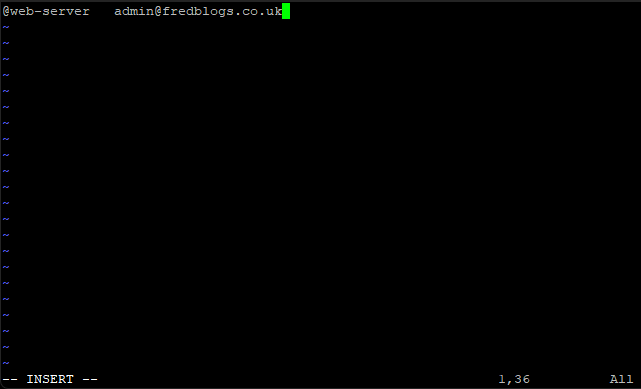
Press escape, press : (colon), Press w (enter), Press : (colon) and finally press q (enter).
Now type this command.
sudo postmap /etc/postfix/canonical (enter) (you may as allays need to re-enter your password, I am not going to remind you of this anymore I think you get it by now!).
Next this command.
sudo service postfix reload (enter)

We have now told the server to use admin@YouNewDoamin.co.uk instead of root@Web-Server.
When we first installed EHCP Force the system generated a password for the MySQL root user.
The root user is designed to be used only for system admin access to MySQL (database system).
There are two things we need to set.
The first one is that the system will try to access MySQL as the root user but using no password so we have to tell the system the password, secondly we need to set a new MySQL admin user up in case you need to access the system.
We are going to need the MySQL root users password that you were provided when you first installed ECHCP Force.
If you cannot remember your MySQL root user password, it can be retrieved it by login into your server using your PC and putty and typing this command.
sudo cat /root/ehcp_info
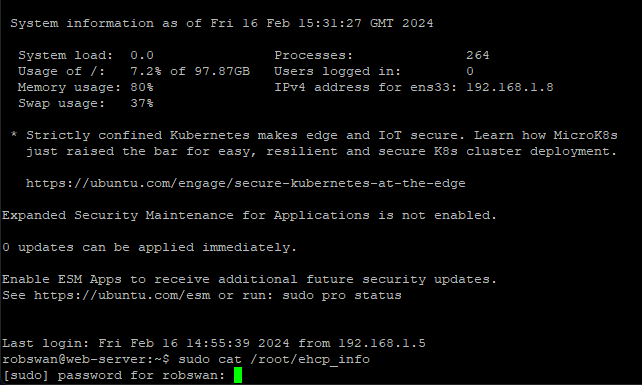

By the way THE PASSWORDS ABOVE ARE NOT MINE! and also yours will be different!
If you are not already logged in, logon to the server using you PC and Putty.
Type the following command.
sudo vi /etc/mysql/debian.cnf
In this file there are two places we need to add the MySql password.
In the file will see two places with the line user = root (spaced out, to make the file look better).

Move the cusor to the t (last letter) of the first line.

Press I for insert, then move the cursor one place to the right so it is just after the letter t.

Next press enter, to create a blank line under the user line, then type the word password.
Next do a space and then an = then another space.
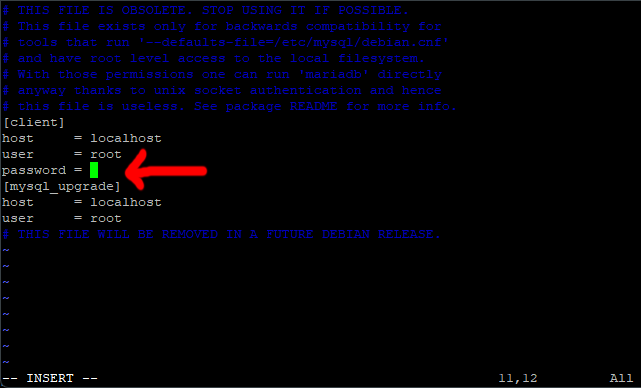
Now type in the MySQL root users password, then press escape.

Remember this is the MySQL root users password that was given to you by the EHCP force installer!
Now repeat the process for the second user = root line so the file should look something like this.

Obviously your password will not say MySQLRootPassword!
Now save and exit the file (escape, press : then w (enter) press : then q (enter))
The above file (debian.cnf) is getting less and less relevant as time goes on, as most modern application will ignore it. In future releases of Ubuntu Server, it may not even exist. Because the file is outdated, we need to set the MySQL root password in another place also.
So, let’s get this done.
Staying with PuTTY. Log back in if you need to.
Make sure you have to MySQL root user password to hand, as we are going to need it again.
Ok, first we need to change into root user mode, so enter this command.
sudo su (you may be asked to re-enter your user password)
Next, we are going to create the file for the password, so enter this command.
vi /root/.my.cnf

Press I for insert and paste this into the file (right click on the cursor in PuTTY to paste)
[mysqladmin]
password = MySQLRootPassword
user = root
Then change “MySQLRootPassword” to your actual MySQL root password.

Remember all passwords are case sensitive (copy and paste may be a better option for this).
Save the changes and exit the editor (Escape :w (enter) :q (enter)).
Paste in each of these commands at the prompt. (You MUST still be in root user mode, press enter after each line)
mkdir /var/log/mysql/
touch /var/log/mysql/mysql.log
touch /var/log/mysql/mysql-slow.log
touch /var/log/mysql/mariadb-slow.log
chmod -R 2750 /var/log/mysql/
chgrp adm -R /var/log/mysql/
chown mysql -R /var/log/mysql/
echo [mysqld] >>/etc/mysql/my.cnf
echo general_log_file = /var/log/mysql/mysql.log >>/etc/mysql/my.cnf
echo general_log = 1 >>/etc/mysql/my.cnf
Come out of root user mode by typing this command.
exit
Next reboot your server using the following command.
sudo shutdown -r now
In case you were wondering, the list of commands turned on a log file for MySQL.
Now the system has the power to log into MySQL using the root user.
Next log back into your server using your PC and Putty.
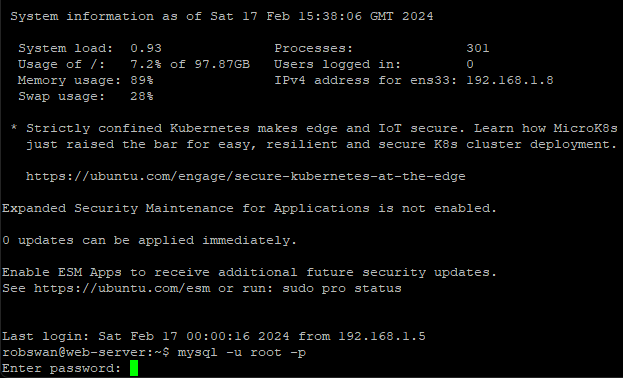
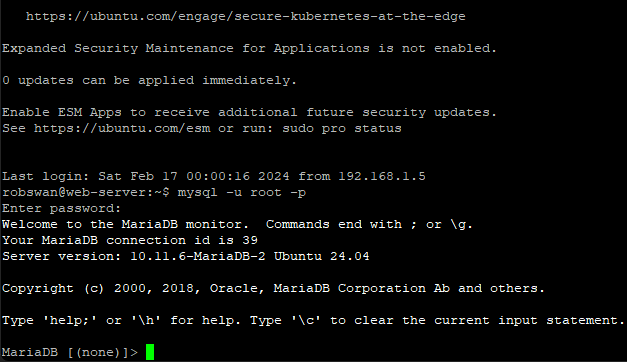
Type the following command and press enter.
mysql -u root -p
The system will now prompt you for a password, THIS IS NOT YOUR NORMAL USER PASSWORD, this is the MySql root users password, that we used above.
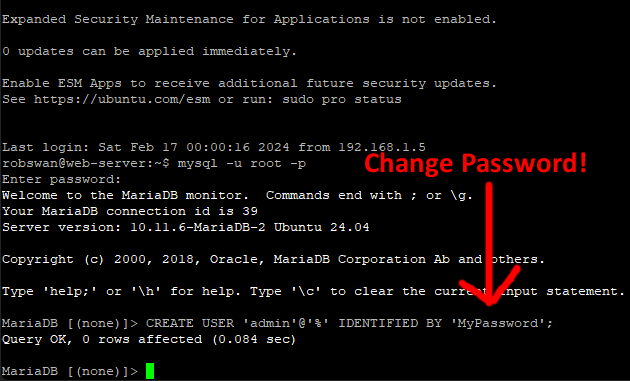
Next you need to make up a password that you are going to use when you log into MySQL this is an important password so make a note of it. We are going to set the user name as admin.
OK type this command. (Press enter, replace MyPassword, with your new admin password)
CREATE USER 'admin'@'%' IDENTIFIED BY 'MyPassword';
Next Type this command. (Press enter, replace MyPassword, with your new admin password)
GRANT ALL PRIVILEGES ON * . * TO 'admin'@'%' IDENTIFIED BY 'MyPassword' WITH GRANT OPTION;

Next type this command. (press enter)
FLUSH PRIVILEGES;
Finally type this command. (Press enter)
quit

We have now created an admin user for MySql which it the one you should use if you ever need to log into MySql.
Now to keep your server running as smoothly as possible I personally recommend a regular reboot, in my experience this had proved invaluable as without it I have noticed problems can occur.
Rather than do this manually the best way is to schedule an auto reboot (using something called a CRON Job).
I recommend setting this for a time the server would be less busy as it will result in a few minutes of downtime, I have set mine to re-boot at 4:05am in the morning on a daily basis.
Before we go any further is very important, that you have read through the post called Information Regarding Cronjobs and VIM (Important).
So let’s get started…..
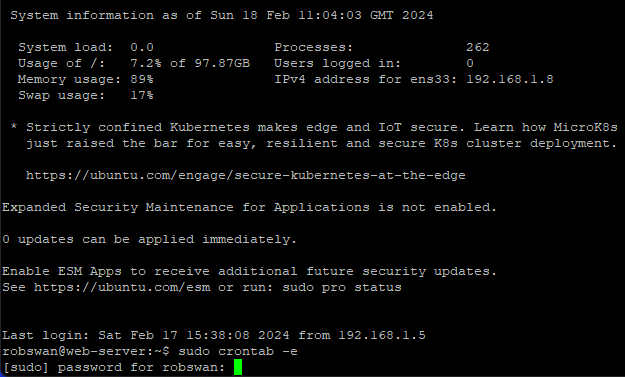
Log into your server using your PC and Putty.
OK type this command.
sudo crontab -e (press enter as per normal)
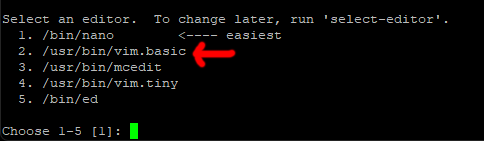
The first time you use this the syetem will ask you to select an editor, please select vim.basic as your editor.
As, you can see the first line does not fit on the screen.
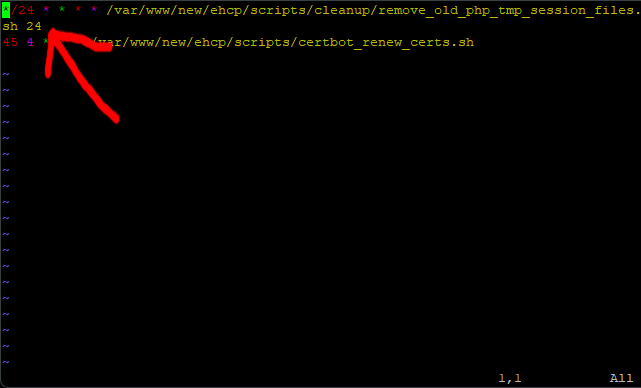
Make the PuTTY window a lot wider.
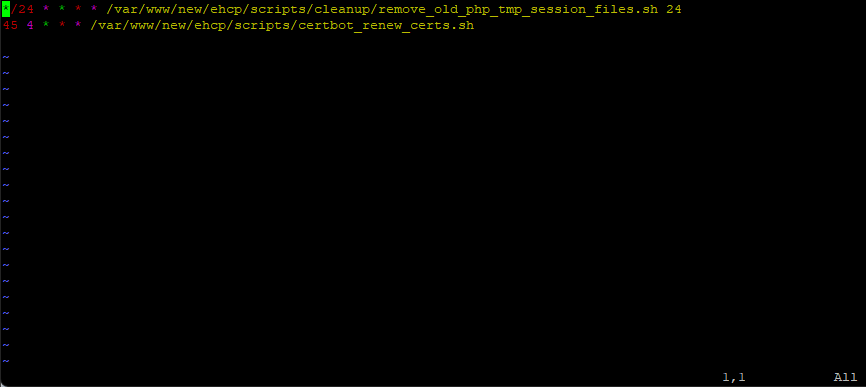
Makin sure the cursor is in the top left-hand corner, Press I.
The word insert will appear in the bottom left.
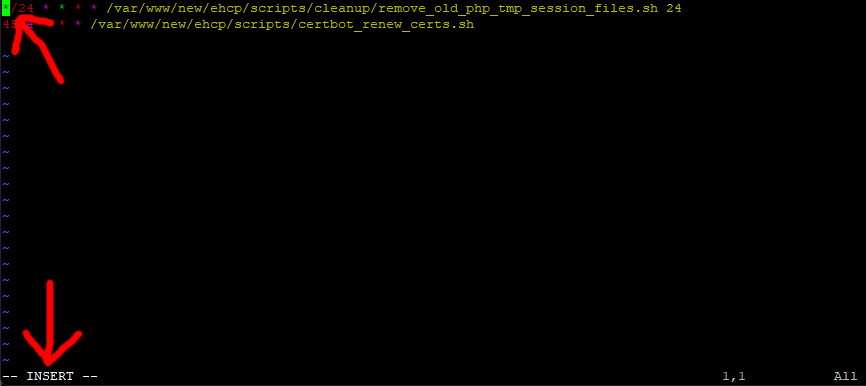
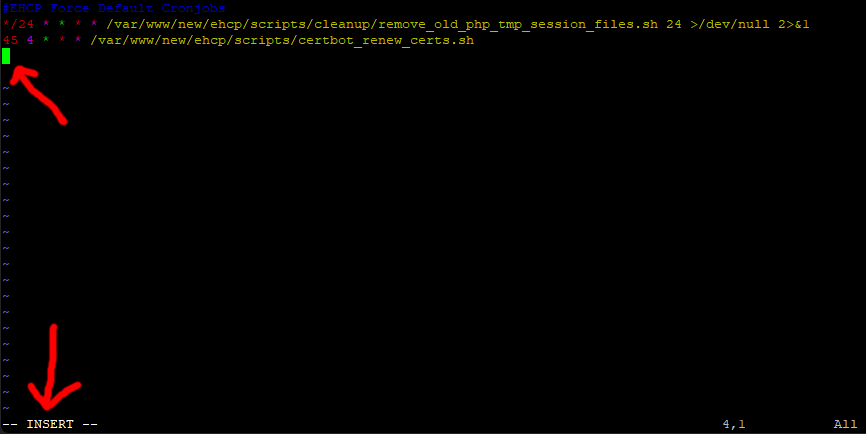
Next, press enter to create a new line at the top, then Press the UP arrow on your keyboard, to put the cursor at the start of the new top line.

Next paste this line in (right click on the cursor to paste).
#EHCP Force Default Cronjobs

In my opinion, labelling cronjobs makes life easier.
Press Escape (insert will disappear).
Next, move your cursor to the last digit of the second line (4), press I for insert.
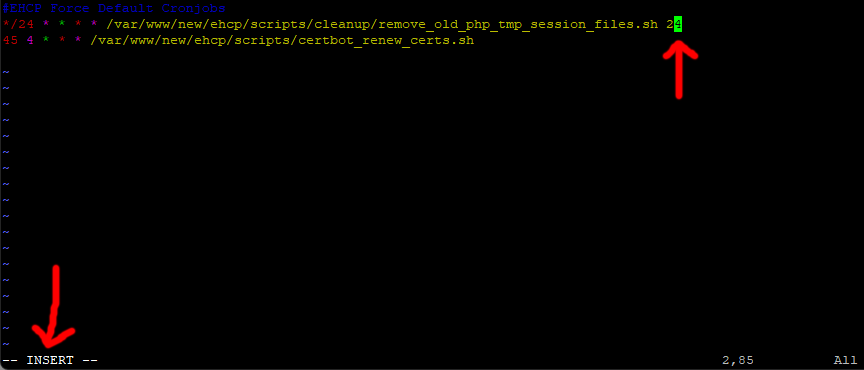
Prees the right arrow key on your keyboard (to move to the space after the 4), then press space.
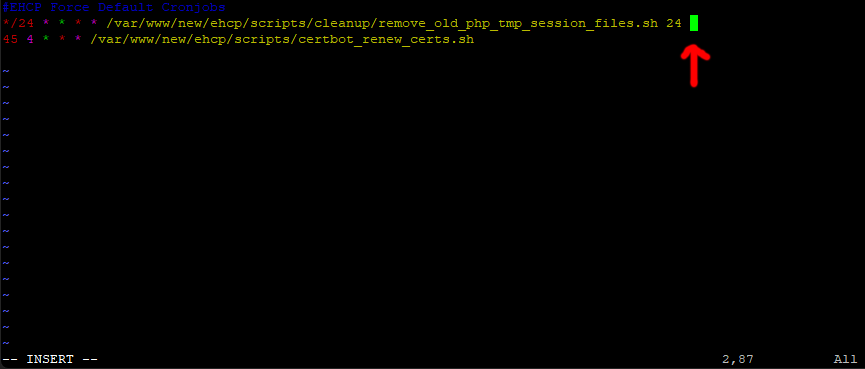
Paste in this code.
>/dev/null 2>&1
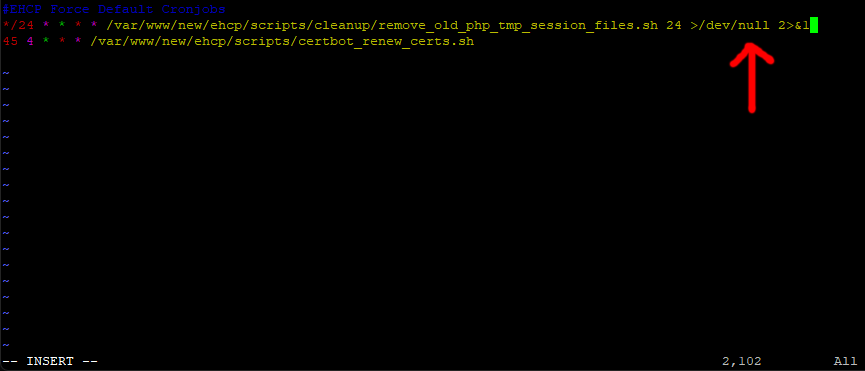
Press Escape (insert will disappear).
The code we just pasted in, stops a lot of annoying and pointless emails (from the system).
Move your cursor to the end of the last line in the file.

Press I for insert then press your right arrow key to go one character past the end of line and then press enter to get a new line.
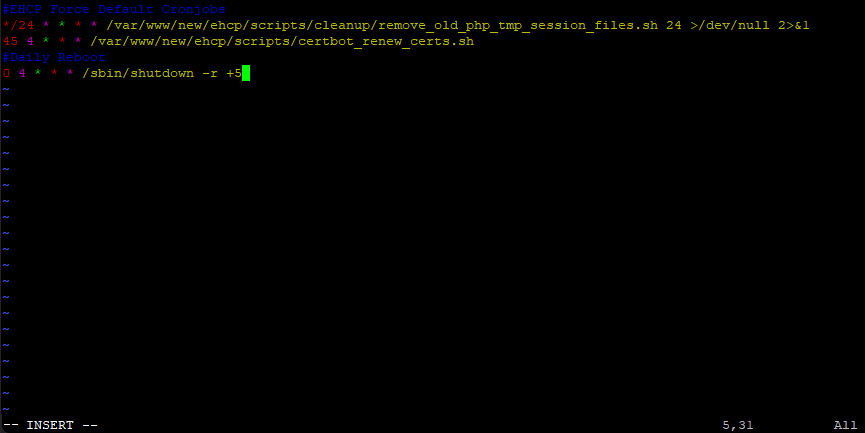
Add these new lines.
#Daily Reboot
0 4 * * * /sbin/shutdown -r +5

You may have accidentally added some line spaces, into the file.

If you do have any line spaces they MUST be removed.
To remove line spaces, simple move your cursor (using the arrow keys) to the line space in question.

Then press the (backspace) delete key, your cursor should move to the end of the line before.
Ok we are done now, so press escape.
Save the file and exit the editor (press : (colon), Press w (enter), Press : (colon) and finally press q (enter))
Ok assuming you have set the time the same (as I have done above) then from now on your server will automatically re-boot at 4:05am each day.
Ok it’s not strictly necessary at this point to re-boot your server but I suggest you do it anyway, if nothing else its good practice to help you get used to Linux. (Use the command sudo shutdown -r now)
Ok for now at least we are finished with the command line.