In this topic we are going to configure the email alert system within Fail2ban.
First of, log into your EHCP force web control panel and create a dedicated email account for Fail2ban.
Be careful not to choose an email address than can be easily guessed, for example f2b96346@MyDomain.com (don’t use the example one).
In order to fix the Fail2ban email, we first need to edit the main Fail2ban configuration file known as jail.local.
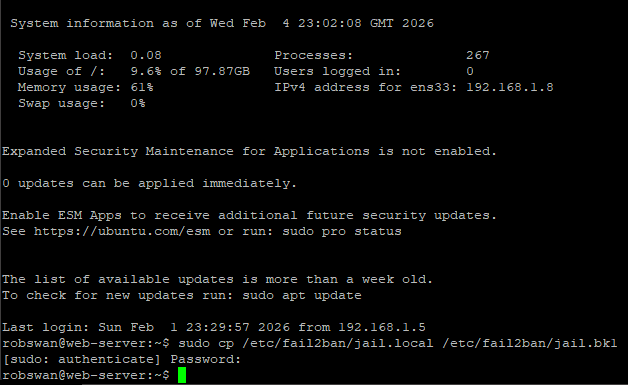
Before you make any changes to the Fail2ban jail.local file, it a good idea to take backup, just in case you make a mistake.
Log on to your server using your PC and PuTTY and enter this command,to take a backup.
sudo cp /etc/fail2ban/jail.local /etc/fail2ban/jail.bk1
As per always, you may need to re-enter your password.
Open the file using this command.
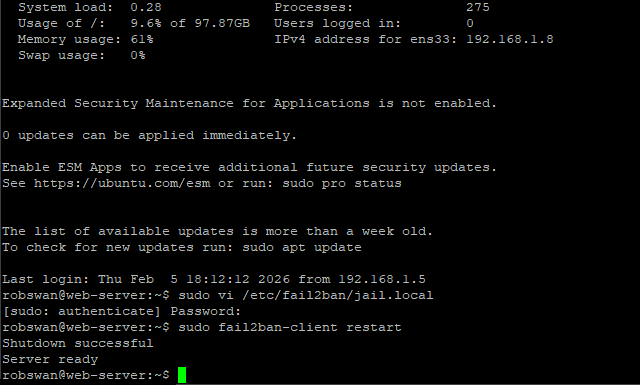
sudo vi /etc/fail2ban/jail.local
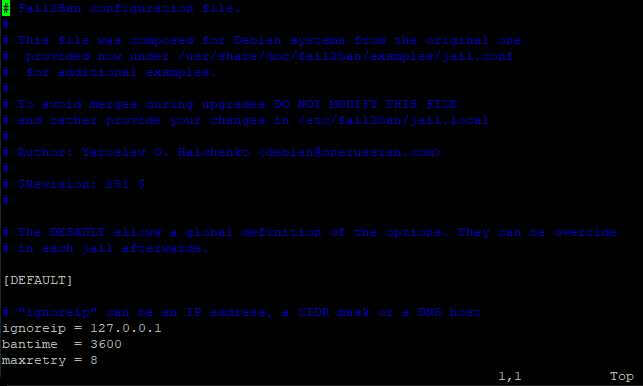
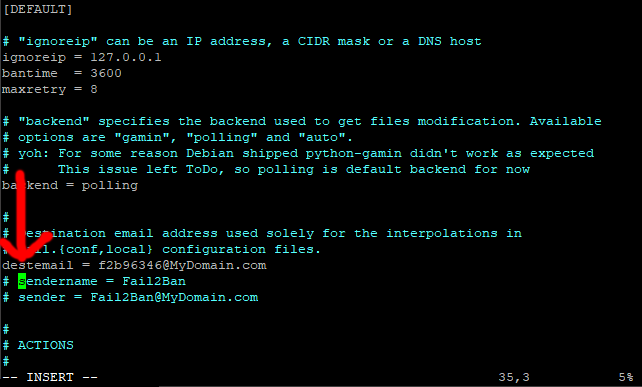
Scroll down until you see the line.
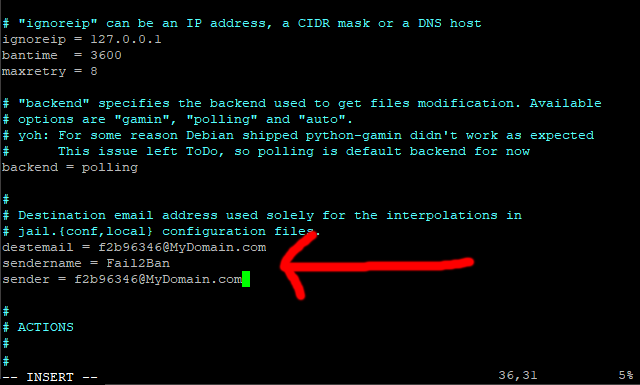
# destemail = Fail2Ban@MyDomain.com (should be about line number 34).
Position your cursor on the d of the word destemail, then press I for insert.
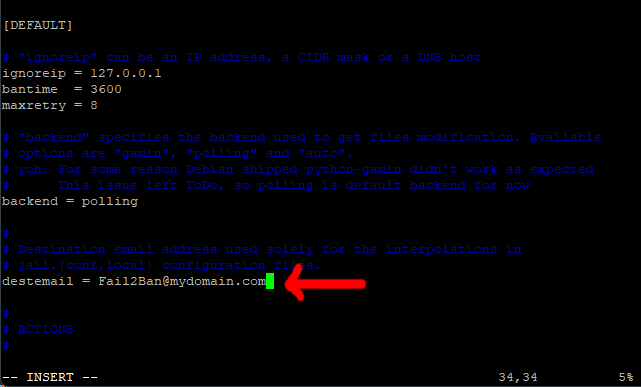
Press the backspace delete key twice to delete the space and the #.
Next, move your cursor one space past the last letter (m) in the line.

Carefully, using the backspace delete key, delete the email address.
Now, type in the Fail2ban email address that you created in the control panel.
Yours won’t be f2b96346@MyDomain.com.
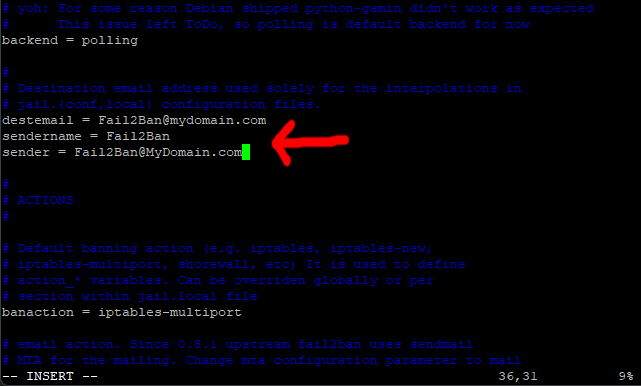
Move your cursor to the s of the word sendername on the next line.
Next, just as we did on the line above, delete the space and the # using the backspace delete key.
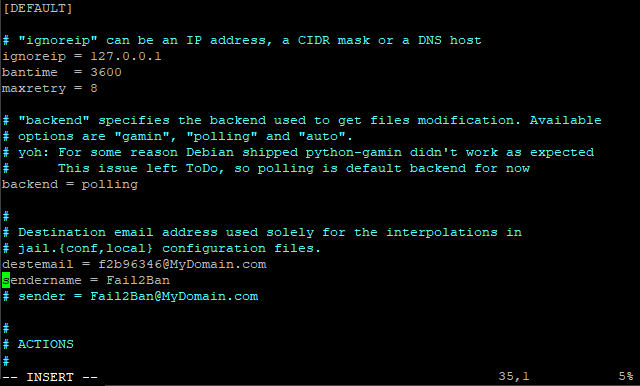
On the next line again delete the space and the #, then scroll across one space past the last letter.
Again, carefully delete the email address, and type in your Fail2ban email address.
Save the changes and exit (Escape :w (enter) :q (enter)).
Now, enter this command.
sudo fail2ban-client restart
Note:
If you get any error messages and Fail2ban wont restart, copy back in your backup file, start Fail2ban and then try again. To copy your backup file back in, and then restart Fail2ban use these commands.
sudo cp /etc/fail2ban/jail.bk1 /etc/fail2ban/jail.local ONLY IF AN ERROR OCCURS
sudo fail2ban-client start ONLY IF AN ERROR OCCURS
Finally, we need to stop Fail2Ban sending us annoying emails every time the service stops and starts.
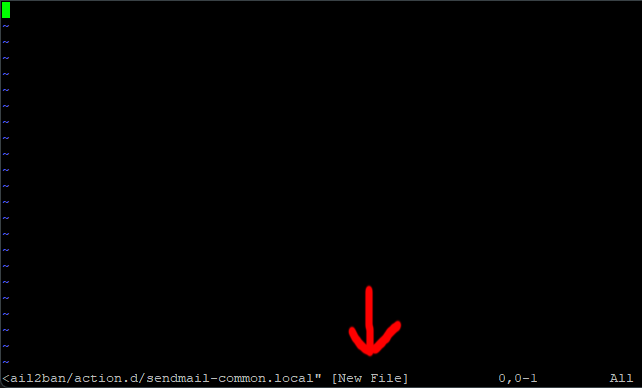
To do this we just need to create a new config file, which turns these emails off.
Issue this command.
sudo vi /etc/fail2ban/action.d/sendmail-common.local
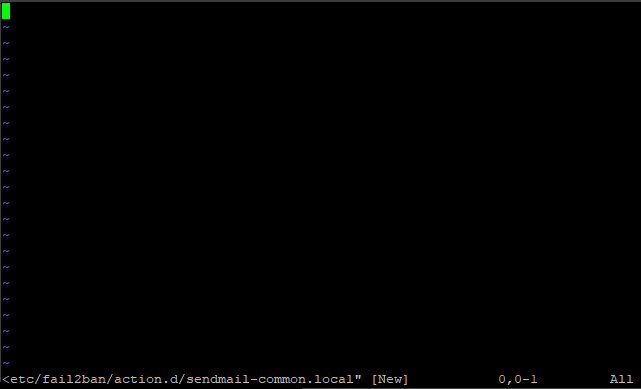
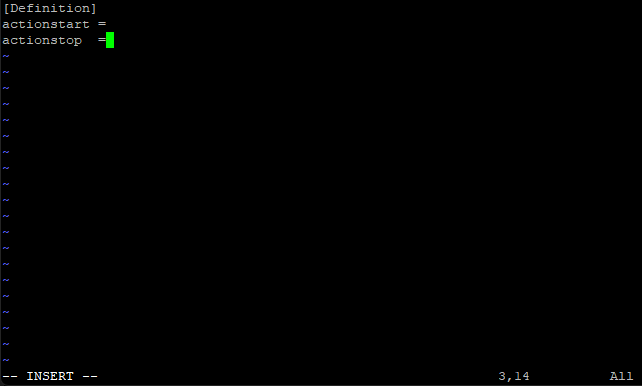
Press I for insert and paste in this code.
Code: Select all
[Definition]
actionstart =
actionstop  =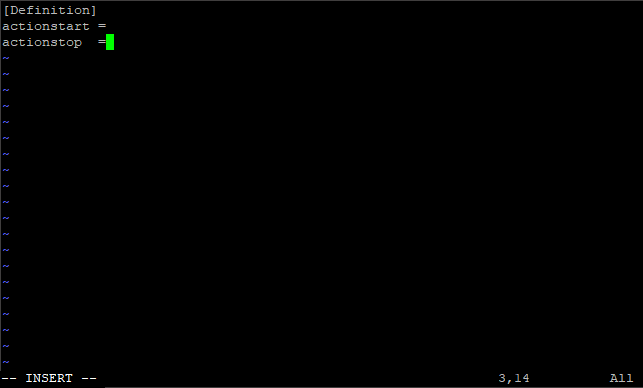
Now save the changes and exit the editor (Esc, :w (enter) :q (enter)
Restart Fail2ban to make sure all is ok with this command.
sudo fail2ban-client restart
Now fail2Ban will only send us emails about IP’s that have been banned.
Now, (in PuTTY) you can just type exit (enter) as we are done.
You can delete any emails (from Fail2ban) in your new mailbox that where sent during the setup process.
You may also have some emails in your postmaster mailbox from Fail2ban, these can be deleted also.