The EHCP force, new installation bug.
Posted: Tue Aug 29, 2023 4:38 pm
Impact Level: HIGH
Fix Found: YES
Fix Complexity: MEDIUM to HIGH
Bug Description
If you inadvertently installed the latest official version of EHCP force, your email does not work and Fail2ban can no longer process IP bans.
These issues are down to some bugs in the installer of the EHCP force official version.
If it’s in anyway viable to do so, your best course of action would be a full server reinstall.
This would involve reinstalling the Ubuntu 24.04 server operating system and then installing the modified version of EHCP force from this site.
Keep in mind that the modified version of EHCP force on this site has been fixed for Ubuntu server 24.04 ONLY.
A full reinstall would of course mean that everything on your server would be permanently deleted.
If there is no way at all of doing a reinstall, this post explains how to fix EHCP force.
Symptom
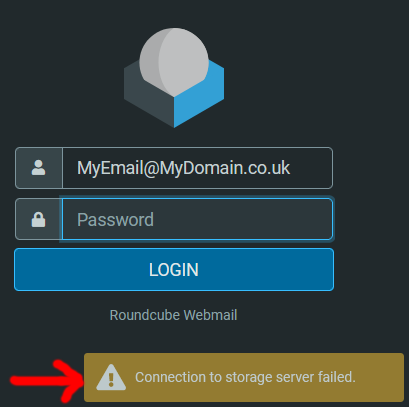
When you try to log into your email via Roundcube you see this error message.
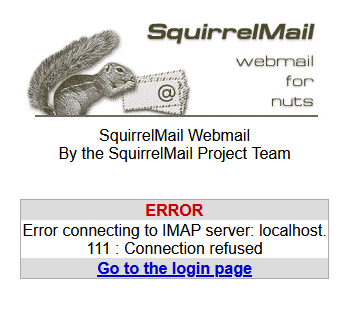
When you try to log into your email using Squirrelmail, you see this error message.
Despite Fail2ban running and working banned IP addresses can still access your website.
These issues are caused by the new version of EHCP force doing the following.
EHCP Force attempting to compile the courier MTA (Email system) from the source code during the install process and failing, and the installer not adjusting the Fail2ban configuration for the newer version.
If after installing EHCP force you find that you are not having any of the above issues, then you don’t need to continue on with this topic.
The Fix
I have broken the fix down into 4 stages to try and simplify it as much as possible, these are the 4 stages of the fix.
1. Clean out all the remains of the failed courier install.
2. Reinstall a new version of courier from deb files and also apt packages.
3. Reconfigure Courier for MySQL and EHCP force.
4. Fix Fail2ban.
I have done my best to keep the fix as simple as possible, and where a lot of the commands could be combined, I believe separate commands are easier for the beginner.
Ok, let’s get started.
Part 1 (The Fix)
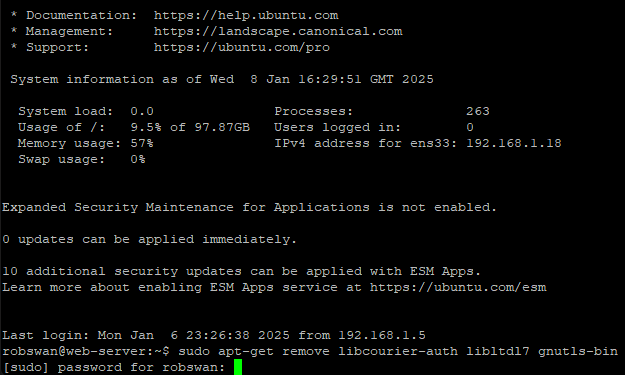
Log into your server using your PC and PuTTY.
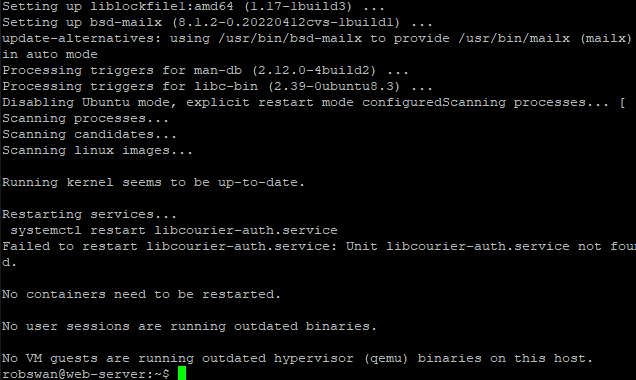
Enter this command first.
sudo apt-get remove libcourier-auth libltdl7 gnutls-bin
As per normal you may need to re-enter your password.
Type y and press enter to continue.
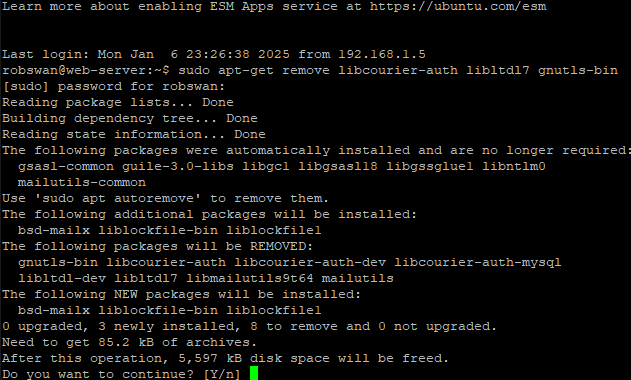
Wait for the uninstall process to complete.
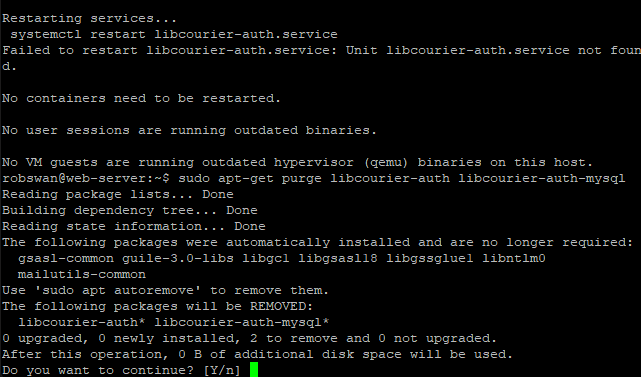
Next enter this command.
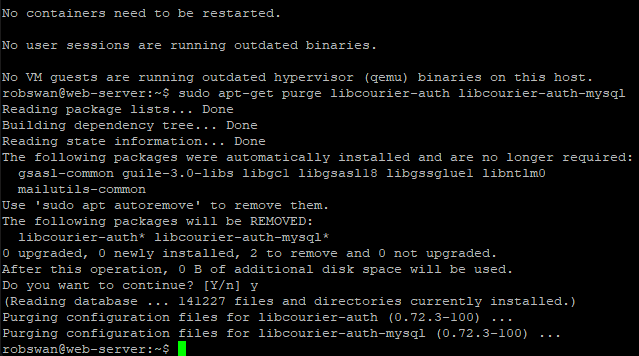
sudo apt-get purge libcourier-auth libcourier-auth-mysql
Type y and press enter to continue.
Next, it is this command.
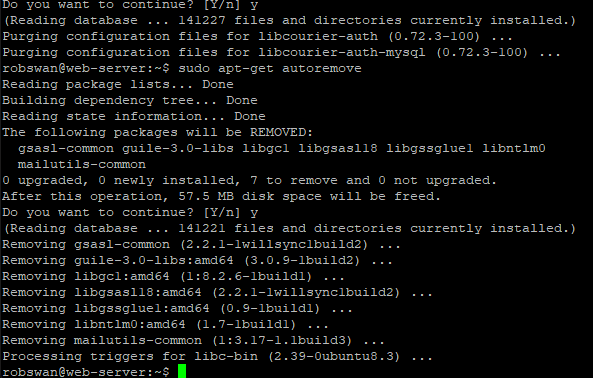
sudo apt-get autoremove
Type y and press enter to continue.
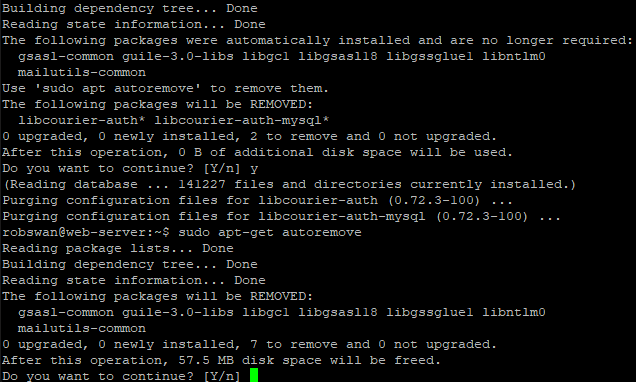
Wait for the uninstall process to complete.
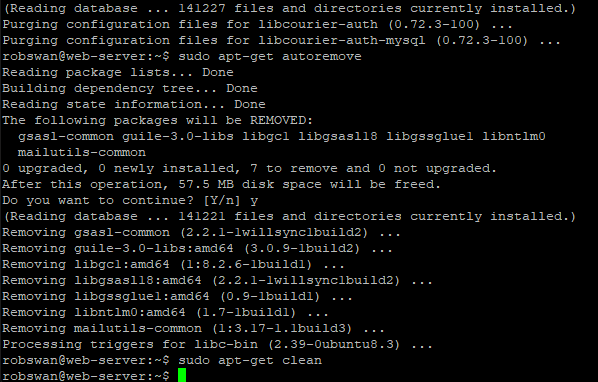
And finally enter this command to complete the removal and clean-up process.
sudo apt-get clean
We are done with part 1 now and the entire courier system has been removed from you server, so if you are done for today or just need a break then you can close PuTTY by entering the exit command.
Part 2 (The Fix)
Before we can reinstall the courier MTA (Email system), we need to download the installation files, so connect to your server using PuTTY and enter this command.
wget https://downloads.ghostnetwork.co.uk/fixes/ehcpforce/2404/courier/courier-authlib_0.71.4-1+b4_amd64.deb
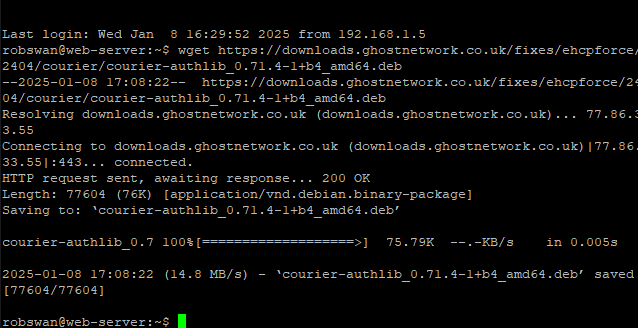
Next its these commands one by one, to download the rest of courier.
Make sure each of the files appear to download without any errors (if they don’t, wait 20 minutes and try again).
wget https://downloads.ghostnetwork.co.uk/fixes/ehcpforce/2404/courier/courier-authlib-dev_0.71.4-1+b4_amd64.deb
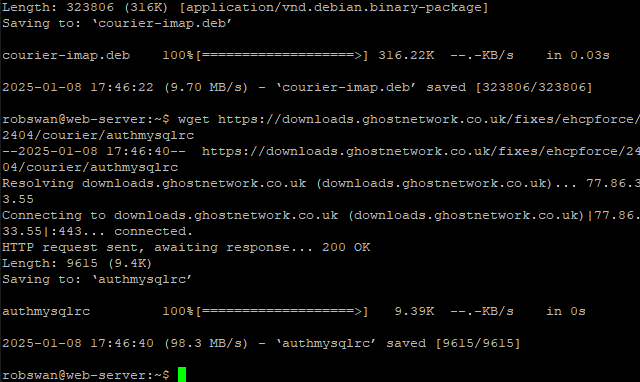
wget https://downloads.ghostnetwork.co.uk/fixes/ehcpforce/2404/courier/courier-imap.deb
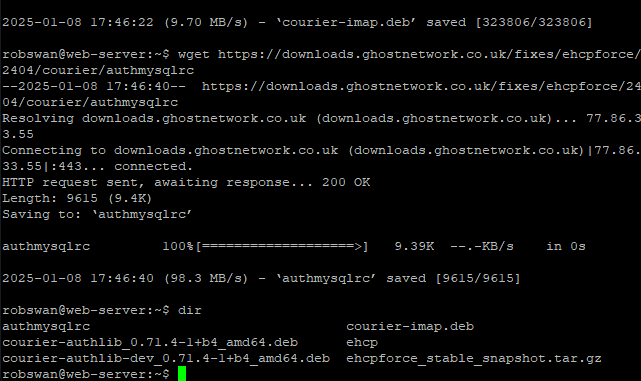
wget https://downloads.ghostnetwork.co.uk/fixes/ehcpforce/2404/courier/authmysqlrc
As a final check to make sure all the files downloaded ok enter this command.
dir
You should see something that looks like this.
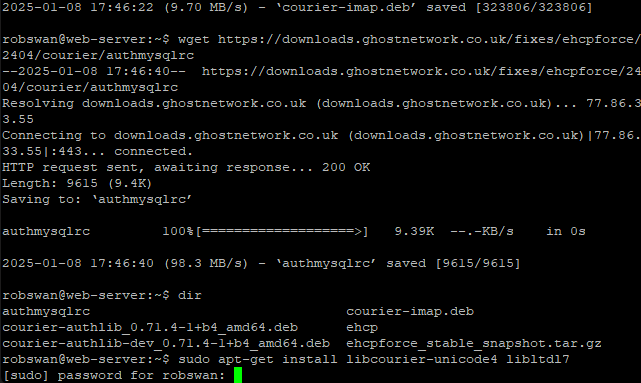
Ok lets start installing, enter this command to get started.
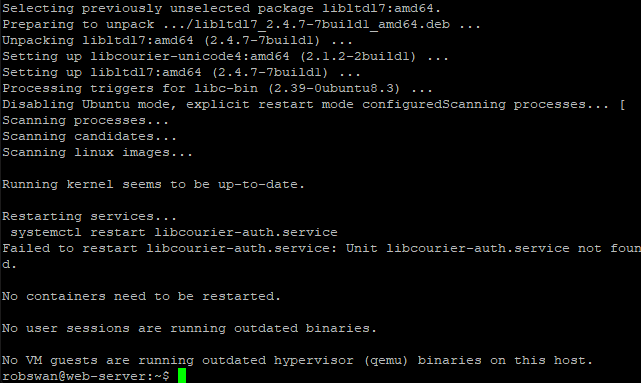
sudo apt-get install libcourier-unicode4 libltdl7
As per normal you may need to re-enter your password.
Wait for the installation to complete.
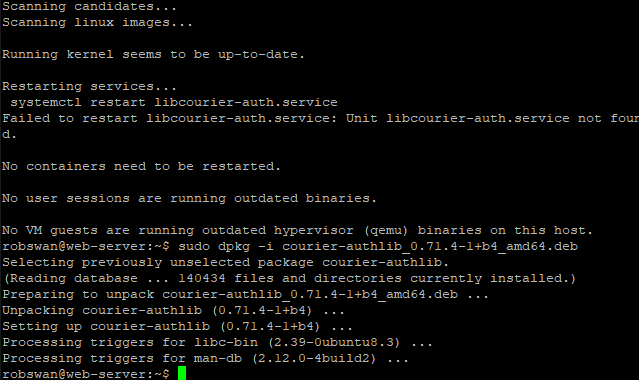
Next, it’s this command.
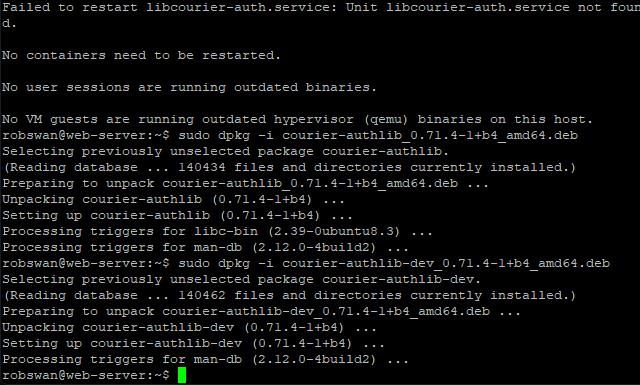
sudo dpkg -i courier-authlib_0.71.4-1+b4_amd64.deb
Wait for the installation to complete.
Then this command.
sudo dpkg -i courier-authlib-dev_0.71.4-1+b4_amd64.deb
Wait for the installation to complete.
Now this command.
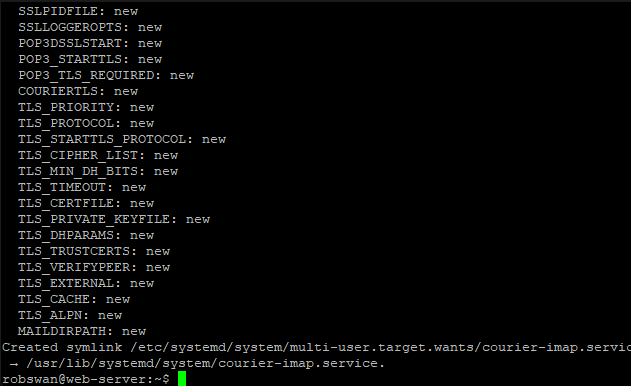
sudo dpkg -i courier-imap.deb
Wait for the installation to complete.
Ok, now enter this command.
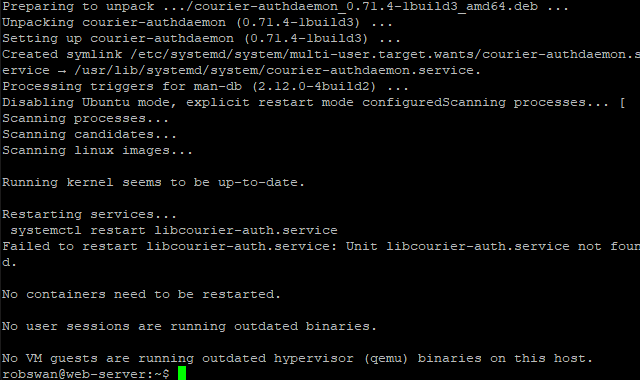
sudo apt-get install courier-authdaemon
Wait for the installation to complete.
And finally, this command.
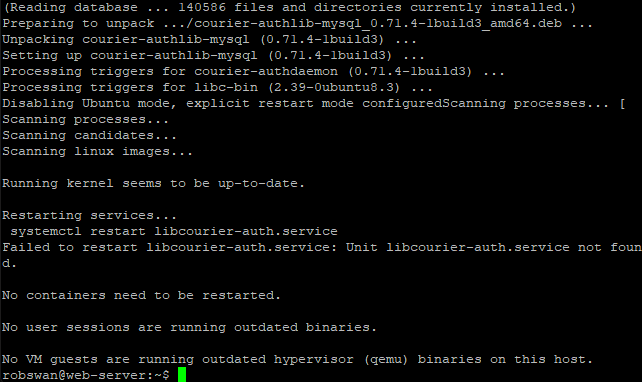
sudo apt-get install courier-authlib-mysql
Wait for the installation to complete.
Ok you have now re-installed the courier MTA, it wont work yet as it has to be configured which we will do in the next part of this topic. If you are done for today or just need a break then you can close PuTTY by entering the exit command.
Part 3 (The Fix)
Ok, so we need to do some command line configuration, and then we can use the EHCP force online control panel to finish it off.
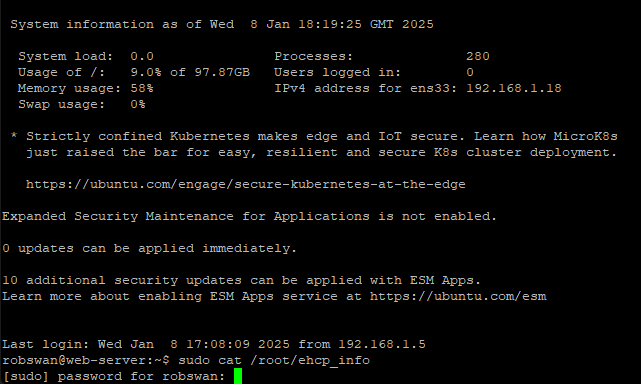
You will need the EHCP MySQL user password for this, if you installed EHCP force in unattended mode as per the guide you can find the password by going back into PuTTY using your PC and entering this command.
sudo cat /root/ehcp_info
As per always you may need to re-enter your password.
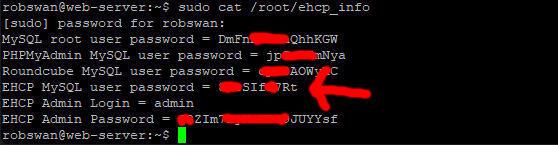
The above password are not mine, however I have blanked some of them out for security reasons.
The password should be on the third line up from the bottom.
Please make a note of the password.
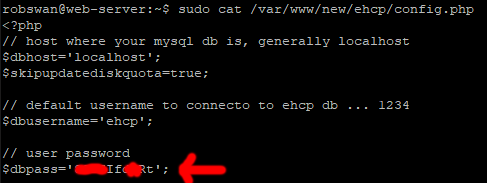
If for some reason you did not install EHCP force in unattended mode the password can be found in the file /var/www/new/ehcp/config.php using the command.
sudo cat /var/www/new/ehcp/config.php
You will need to scroll up the PuTTY window as its at the start of the file.
Ok, enter this command in PuTTY.
sudo vi /etc/courier/authdaemonrc
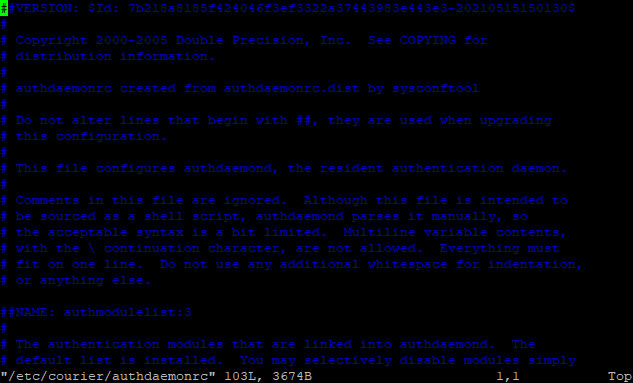
Using the down arrow key on your keyboard scroll down to the end of the file, and place the cursor on the last letter of the last line.
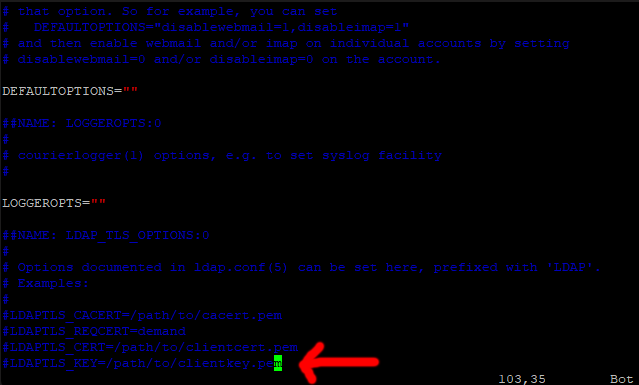
Press I for insert, then press the right arrow key to move one space after the last letter, then press enter to create a new line.

You may notice that a ‘#’ sysmbol has been added on our new line, we don’t need this so please press the (backspace) delete key to remove it.
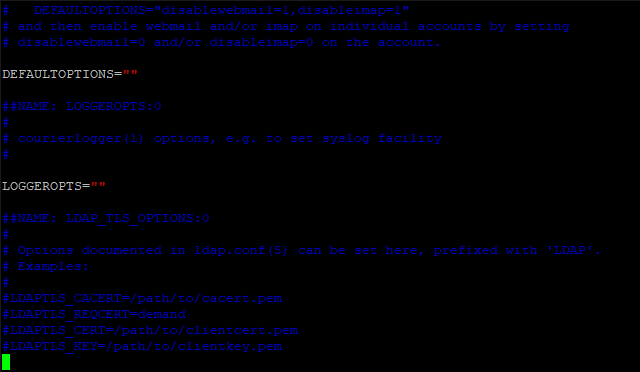
Ok, now paste in this line (just right click on the cursor to paste).
authmodulelist="authmysql"
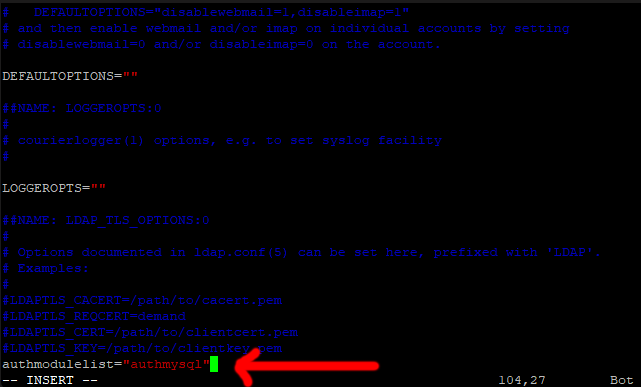
Now save and exit (Press Escape, Type :w press enter, Type :q press enter).
Ok, next enter this command to copy accross one of the files we downloaded in part 2.
sudo mv authmysqlrc /etc/courier/authmysqlrc
Next, we need to add the EHCP MySQL user password into the file we just copied in, so enter this command.
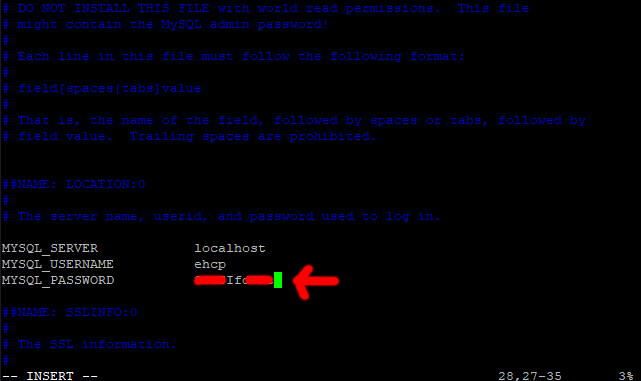
sudo vi /etc/courier/authmysqlrc
on the line that starts with MYSQL_PASSWORD (about line 28) we need to change MyEHCPMySqlUserPassword to our actual EHCP MySQL user password.
Scroll across to the last letter in the line, press I for insert, then move one space to the right.
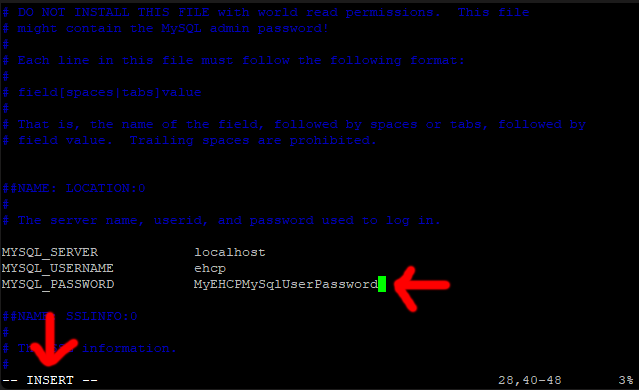
Please delete the example password and put your password in.
Now save and exit (Press Escape, Type :w press enter, Type :q press enter).
Next enter this command to set the correct permissions for the file we just edited.
sudo chmod 640 /etc/courier/authmysqlrc
Next reboot your server using the normal command.
sudo shutdown -r now
Ok, finally log into your EHCP force online control panel.
Scroll down a bit and under System Operations click Options.
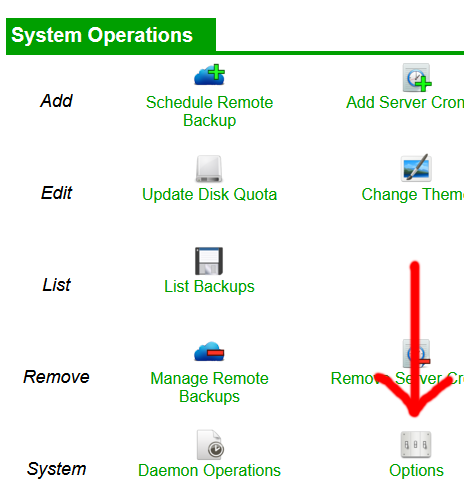
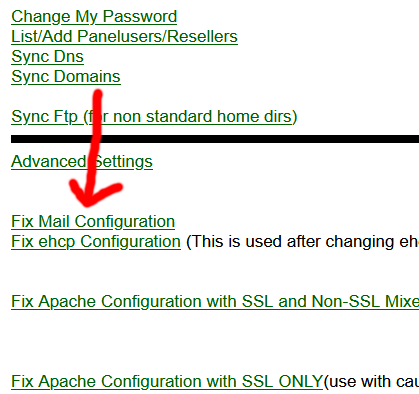
Again, scroll down the page and click Fix Mail Configuration (this is the same link as Fix ehcp Configuration).
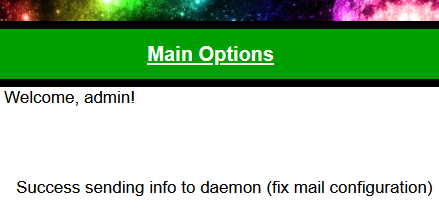
Wait maybe 5 minutes.
Ok, that should be your email all fixed.
Please don’t be hard on the developer of EHCP force, I know this has been a nightmare, but we all make mistakes from time to time. I have made loads of mistakes on the ghostnetwork site in the past, and I will bet there are still things that are wrong that I don’t even know about.
Ok, take a break, and I will see you back here when your ready to fix Fail2ban.
Part 4 (The Fix)
Ok before we start, please keep in mind that this will resort Fail2ban back to the EHCP force default settings. If you have made any changes to Fail2ban, they will be lost.
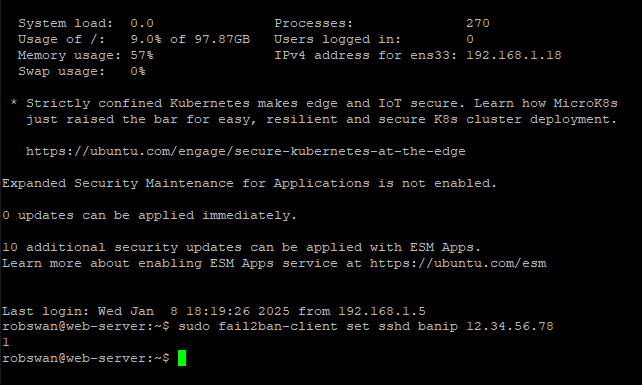
First of all, let’s just test Fail2ban, so log into your server via PuTTY using your PC, then enter this command to block a fake IP address.
sudo fail2ban-client set sshd banip 12.34.56.78
As per normal, you may need to re-enter your password.
Fail2ban should have written our IP address to the system IP tables in order to ban our fake IP address, so lets just have a look at the IP tables to check this. Please enter this command.
sudo iptables -L
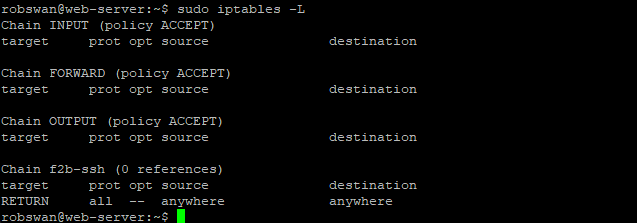
As you can see there is no mention of our IP address anywhere (if it is listed, then don’t continue).
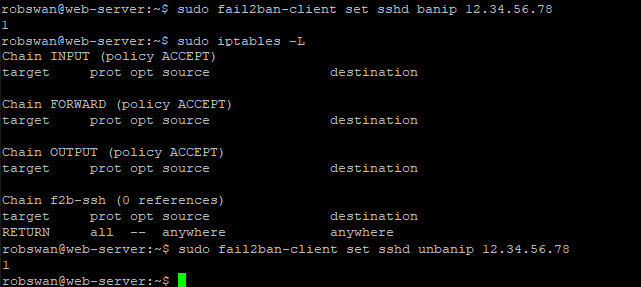
Ok, let just unban the fake IP again with this command.
sudo fail2ban-client set sshd unbanip 12.34.56.78
Now, if you don’t fancy fixing this by hand, you can run the EHCP Force Post-install Fail2ban fixing script, which will sort this out. I know a lot of you prefer the hands-on method so here is how to fix it by hand.
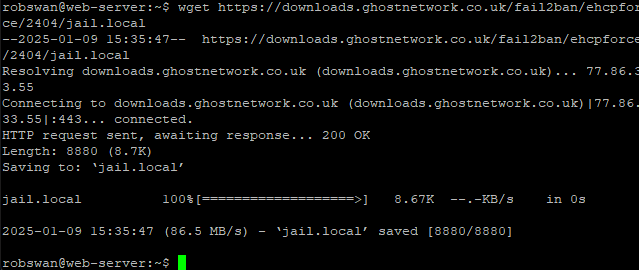
Ok, we are going to replace the Fail2ban jail.local file.
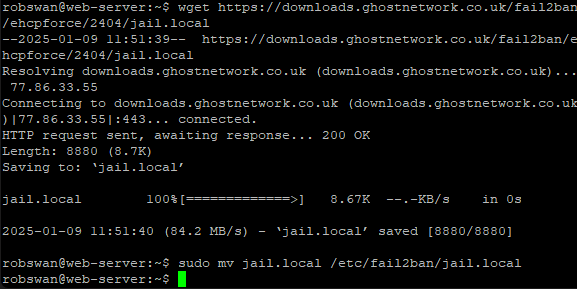
Issue this command to download the replacement file.
wget https://downloads.ghostnetwork.co.uk/fail2ban/ehcpforce/2404/jail.local
Next issue this command to copy in our new file.
sudo mv jail.local /etc/fail2ban/jail.local
Next enter this command.
sudo sed -i "s/#allowipv6/allowipv6/g" /etc/fail2ban/fail2ban.conf

Next restart Fail2ban using this command.
sudo fail2ban-client restart

Ok, that should be it fixed, so lets test again as we did at the start of this section.
Issue this command.
sudo fail2ban-client set sshd banip 12.34.56.78
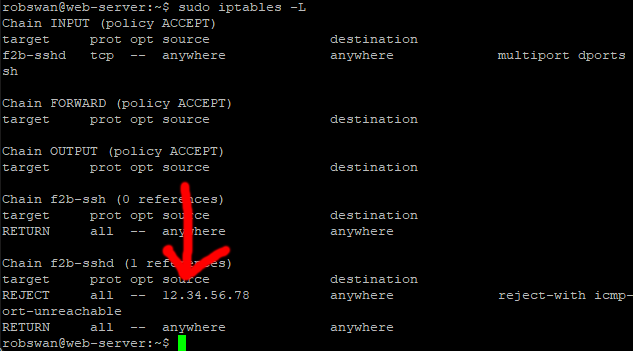
Now re-check the IP tables to check if we can see our banned fake IP address.
sudo iptables -L
Now unban the fake IP address with this command.
sudo fail2ban-client set sshd unbanip 12.34.56.78
Ok, we are all done here!
Fix Found: YES
Fix Complexity: MEDIUM to HIGH
Bug Description
If you inadvertently installed the latest official version of EHCP force, your email does not work and Fail2ban can no longer process IP bans.
These issues are down to some bugs in the installer of the EHCP force official version.
If it’s in anyway viable to do so, your best course of action would be a full server reinstall.
This would involve reinstalling the Ubuntu 24.04 server operating system and then installing the modified version of EHCP force from this site.
Keep in mind that the modified version of EHCP force on this site has been fixed for Ubuntu server 24.04 ONLY.
A full reinstall would of course mean that everything on your server would be permanently deleted.
If there is no way at all of doing a reinstall, this post explains how to fix EHCP force.
Symptom
When you try to log into your email via Roundcube you see this error message.
When you try to log into your email using Squirrelmail, you see this error message.
Despite Fail2ban running and working banned IP addresses can still access your website.
These issues are caused by the new version of EHCP force doing the following.
EHCP Force attempting to compile the courier MTA (Email system) from the source code during the install process and failing, and the installer not adjusting the Fail2ban configuration for the newer version.
If after installing EHCP force you find that you are not having any of the above issues, then you don’t need to continue on with this topic.
The Fix
I have broken the fix down into 4 stages to try and simplify it as much as possible, these are the 4 stages of the fix.
1. Clean out all the remains of the failed courier install.
2. Reinstall a new version of courier from deb files and also apt packages.
3. Reconfigure Courier for MySQL and EHCP force.
4. Fix Fail2ban.
I have done my best to keep the fix as simple as possible, and where a lot of the commands could be combined, I believe separate commands are easier for the beginner.
Ok, let’s get started.
Part 1 (The Fix)
Log into your server using your PC and PuTTY.
Enter this command first.
sudo apt-get remove libcourier-auth libltdl7 gnutls-bin
As per normal you may need to re-enter your password.
Type y and press enter to continue.
Wait for the uninstall process to complete.
Next enter this command.
sudo apt-get purge libcourier-auth libcourier-auth-mysql
Type y and press enter to continue.
Next, it is this command.
sudo apt-get autoremove
Type y and press enter to continue.
Wait for the uninstall process to complete.
And finally enter this command to complete the removal and clean-up process.
sudo apt-get clean
We are done with part 1 now and the entire courier system has been removed from you server, so if you are done for today or just need a break then you can close PuTTY by entering the exit command.
Part 2 (The Fix)
Before we can reinstall the courier MTA (Email system), we need to download the installation files, so connect to your server using PuTTY and enter this command.
wget https://downloads.ghostnetwork.co.uk/fixes/ehcpforce/2404/courier/courier-authlib_0.71.4-1+b4_amd64.deb
Next its these commands one by one, to download the rest of courier.
Make sure each of the files appear to download without any errors (if they don’t, wait 20 minutes and try again).
wget https://downloads.ghostnetwork.co.uk/fixes/ehcpforce/2404/courier/courier-authlib-dev_0.71.4-1+b4_amd64.deb
wget https://downloads.ghostnetwork.co.uk/fixes/ehcpforce/2404/courier/courier-imap.deb
wget https://downloads.ghostnetwork.co.uk/fixes/ehcpforce/2404/courier/authmysqlrc
As a final check to make sure all the files downloaded ok enter this command.
dir
You should see something that looks like this.
Ok lets start installing, enter this command to get started.
sudo apt-get install libcourier-unicode4 libltdl7
As per normal you may need to re-enter your password.
Wait for the installation to complete.
Next, it’s this command.
sudo dpkg -i courier-authlib_0.71.4-1+b4_amd64.deb
Wait for the installation to complete.
Then this command.
sudo dpkg -i courier-authlib-dev_0.71.4-1+b4_amd64.deb
Wait for the installation to complete.
Now this command.
sudo dpkg -i courier-imap.deb
Wait for the installation to complete.
Ok, now enter this command.
sudo apt-get install courier-authdaemon
Wait for the installation to complete.
And finally, this command.
sudo apt-get install courier-authlib-mysql
Wait for the installation to complete.
Ok you have now re-installed the courier MTA, it wont work yet as it has to be configured which we will do in the next part of this topic. If you are done for today or just need a break then you can close PuTTY by entering the exit command.
Part 3 (The Fix)
Ok, so we need to do some command line configuration, and then we can use the EHCP force online control panel to finish it off.
You will need the EHCP MySQL user password for this, if you installed EHCP force in unattended mode as per the guide you can find the password by going back into PuTTY using your PC and entering this command.
sudo cat /root/ehcp_info
As per always you may need to re-enter your password.
The above password are not mine, however I have blanked some of them out for security reasons.
The password should be on the third line up from the bottom.
Please make a note of the password.
If for some reason you did not install EHCP force in unattended mode the password can be found in the file /var/www/new/ehcp/config.php using the command.
sudo cat /var/www/new/ehcp/config.php
You will need to scroll up the PuTTY window as its at the start of the file.
Ok, enter this command in PuTTY.
sudo vi /etc/courier/authdaemonrc
Using the down arrow key on your keyboard scroll down to the end of the file, and place the cursor on the last letter of the last line.
Press I for insert, then press the right arrow key to move one space after the last letter, then press enter to create a new line.
You may notice that a ‘#’ sysmbol has been added on our new line, we don’t need this so please press the (backspace) delete key to remove it.
Ok, now paste in this line (just right click on the cursor to paste).
authmodulelist="authmysql"
Now save and exit (Press Escape, Type :w press enter, Type :q press enter).
Ok, next enter this command to copy accross one of the files we downloaded in part 2.
sudo mv authmysqlrc /etc/courier/authmysqlrc
Next, we need to add the EHCP MySQL user password into the file we just copied in, so enter this command.
sudo vi /etc/courier/authmysqlrc
on the line that starts with MYSQL_PASSWORD (about line 28) we need to change MyEHCPMySqlUserPassword to our actual EHCP MySQL user password.
Scroll across to the last letter in the line, press I for insert, then move one space to the right.
Please delete the example password and put your password in.
Now save and exit (Press Escape, Type :w press enter, Type :q press enter).
Next enter this command to set the correct permissions for the file we just edited.
sudo chmod 640 /etc/courier/authmysqlrc
Next reboot your server using the normal command.
sudo shutdown -r now
Ok, finally log into your EHCP force online control panel.
Scroll down a bit and under System Operations click Options.
Again, scroll down the page and click Fix Mail Configuration (this is the same link as Fix ehcp Configuration).
Wait maybe 5 minutes.
Ok, that should be your email all fixed.
Please don’t be hard on the developer of EHCP force, I know this has been a nightmare, but we all make mistakes from time to time. I have made loads of mistakes on the ghostnetwork site in the past, and I will bet there are still things that are wrong that I don’t even know about.
Ok, take a break, and I will see you back here when your ready to fix Fail2ban.
Part 4 (The Fix)
Ok before we start, please keep in mind that this will resort Fail2ban back to the EHCP force default settings. If you have made any changes to Fail2ban, they will be lost.
First of all, let’s just test Fail2ban, so log into your server via PuTTY using your PC, then enter this command to block a fake IP address.
sudo fail2ban-client set sshd banip 12.34.56.78
As per normal, you may need to re-enter your password.
Fail2ban should have written our IP address to the system IP tables in order to ban our fake IP address, so lets just have a look at the IP tables to check this. Please enter this command.
sudo iptables -L
As you can see there is no mention of our IP address anywhere (if it is listed, then don’t continue).
Ok, let just unban the fake IP again with this command.
sudo fail2ban-client set sshd unbanip 12.34.56.78
Now, if you don’t fancy fixing this by hand, you can run the EHCP Force Post-install Fail2ban fixing script, which will sort this out. I know a lot of you prefer the hands-on method so here is how to fix it by hand.
Ok, we are going to replace the Fail2ban jail.local file.
Issue this command to download the replacement file.
wget https://downloads.ghostnetwork.co.uk/fail2ban/ehcpforce/2404/jail.local
Next issue this command to copy in our new file.
sudo mv jail.local /etc/fail2ban/jail.local
Next enter this command.
sudo sed -i "s/#allowipv6/allowipv6/g" /etc/fail2ban/fail2ban.conf
Next restart Fail2ban using this command.
sudo fail2ban-client restart
Ok, that should be it fixed, so lets test again as we did at the start of this section.
Issue this command.
sudo fail2ban-client set sshd banip 12.34.56.78
Now re-check the IP tables to check if we can see our banned fake IP address.
sudo iptables -L
Now unban the fake IP address with this command.
sudo fail2ban-client set sshd unbanip 12.34.56.78
Ok, we are all done here!