We need to download the latest LONG TERM SUPPORT version of Ubuntu server, that is compatible with EHCP force.
I will do my best to keep this page Updated with the correct version.
The current correct version is: Ubuntu Server 24.04 LTS
PLEASE DO NOT DOWNLOAD ANY OTHER VERSION
In the past there has been some confusion over which version on Ubuntu server to download as most 64 bit versions look like they are only for AMD processors, I myself was one of the people who wrongly thought this.
The AMD label does not mean it will not work on Intel systems.
According to what I have read, the latest compatible version(despite being labelled for 64 bit only) should work on all processors. I have never tested it though, so no promises.
The easiest way to download Ubuntu server, is to click this direct download link.
https://releases.ubuntu.com/24.04/ubuntu-24.04-live-server-amd64.iso
If you would prefer to download it from the Ubuntu website yourself, you can use this link to the site. Click on the green Download Ubuntu Server 24.04. LTS button (Manual server installation).
https://www.ubuntu.com/download/server
Ok, moving swiftly on.
You need to decide whether you are going to install your server OS using a USB Stick or a DVD rom.
The easiest is a USB memory stick (4GB or larger), however if you don’t have one, and both your good Windows PC and Your old PC (that is going to be your server) have a DVD drive you may decide to use a DVD instead.
How to Create an Ubuntu Server Bootable USB Stick.
I recommend that you use an application called Rufus for this job.
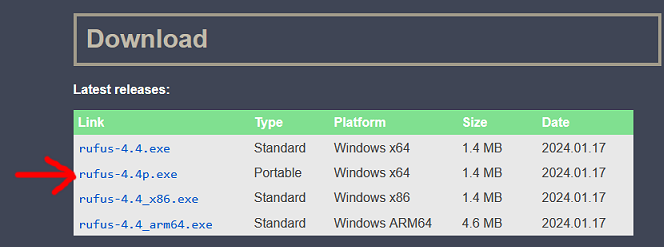
You should download the portable version of Rufus, using this direct download link.
https://github.com/pbatard/rufus/releases/download/v4.4/rufus-4.4p.exe
If you wish to download it from the website yourself, here is the link. Make sure you download the potable version.
https://rufus.ie/en/
Ubuntu server is quite small, so any USB stick 4GB or above should be OK.
Insert your memory stick into a USB port on your PC.
WARNING: The contents of the memory stick, will be PERMANENTLY DELETED, so make sure it does not contain anything you need to keep.
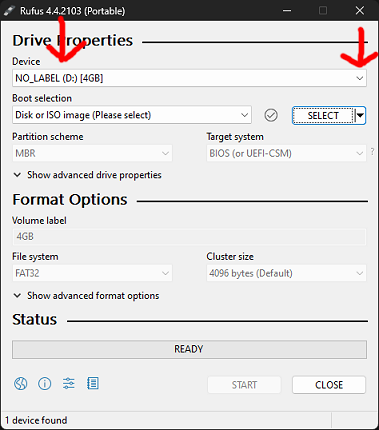
Open Rufus (double click on the file you downloaded).
It is Essential that YOUR MEMORY STICK is selected in the Device box in Rufus, as rufus is capable of formatting any drive (permanently erasing all contents). You have been Warned.
Next in Rufus, next to the Boot selection box click select.
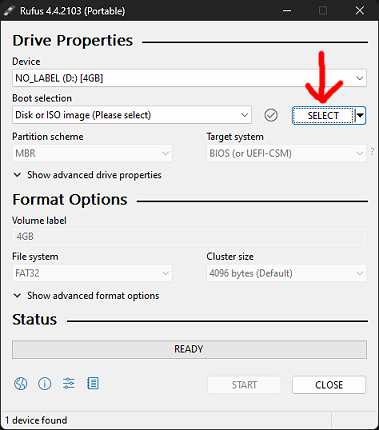
Navigate to the Ubuntu server ISO file you downloaded (Click Open).
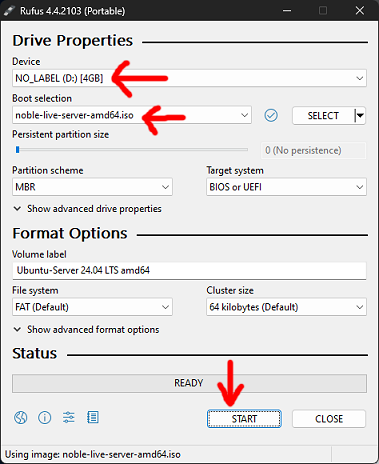
You should not need to change any of the other option from within Rufus, so do one last check that the correct ISO file is selected and of cause your memory stick, then click start.
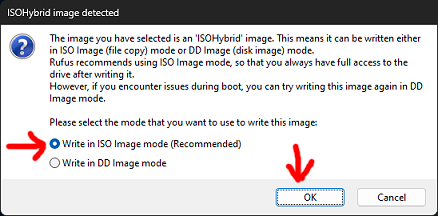
On the next screen we need to select, Write in ISO Image mode, and click OK.
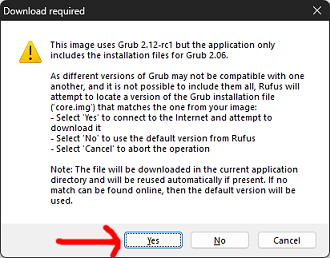
Rufus may need a bit of extra software, so if asked to download click Yes.
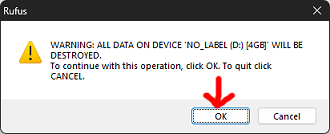
Finally, Rufus will warn you that all data of the Memory stick will be destroyed, so if you are happy with this click OK.
Now just wait until Rufus does its work.
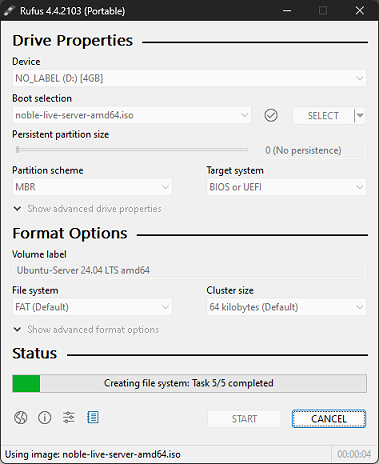
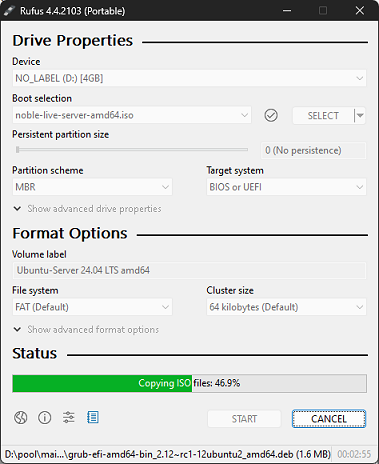
When the status within Rufus says Ready, it has finished.
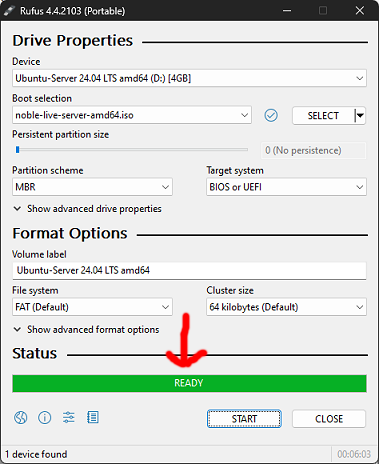
Remove the memory stick from your PC and close Rufus.
We now have a bootable Ubuntu server memory stick to use in the old PC you are going to make into a server.
How to Create an Ubuntu Server Bootable DVD
There are many applications that can do this job, you can use anyone you want, for the purpose of this example I am going to use an application called ImgBurn.
Before we continue though your good window PC must have a DVD Writer drive, and of cause your old PC that you are going to make into a server, should have at the least a DVD Rom drive.
You should download ImgBurn using this direct download link.
https://download.imgburn.com/SetupImgBurn_2.5.8.0.exe
If you wish to download ImgBurn from the website yourself, here is the link.
https://www.imgburn.com/
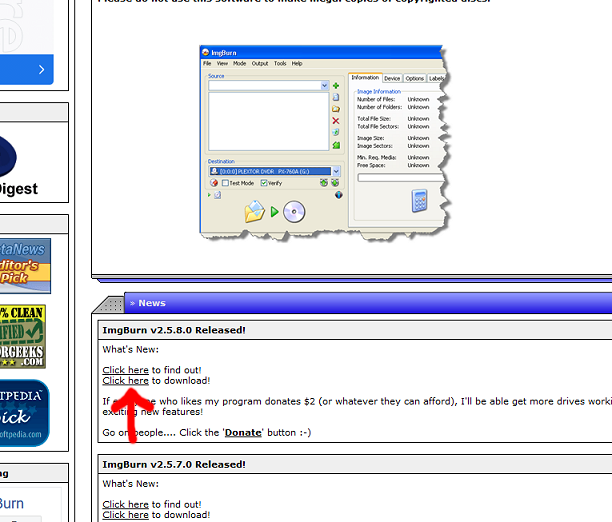
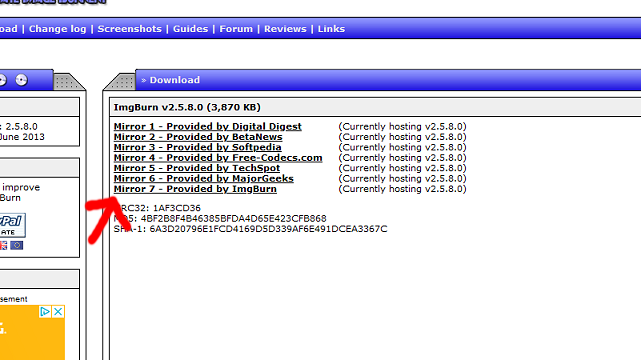
Make sure you download the latest version. You should scroll down to the news section, then click the download link. Finally select the Mirror 7 - Provided by ImgBurn Link.
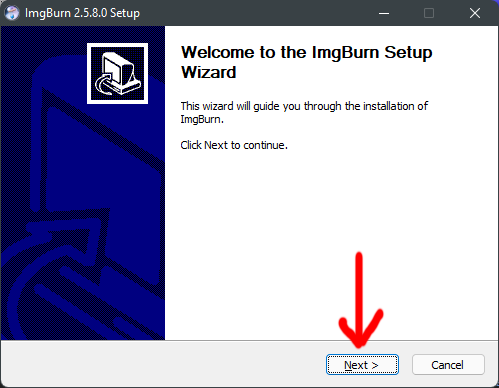
Next, we need to install ImgBurn so double click the file you just downloaded.
Click Next.
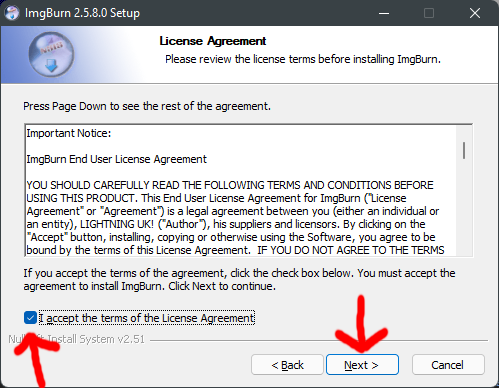
Accept the licence agreement and click next.
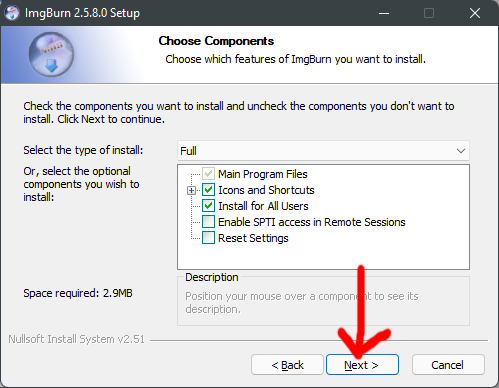
Yes, you guessed it click Next again.
And, Next again.
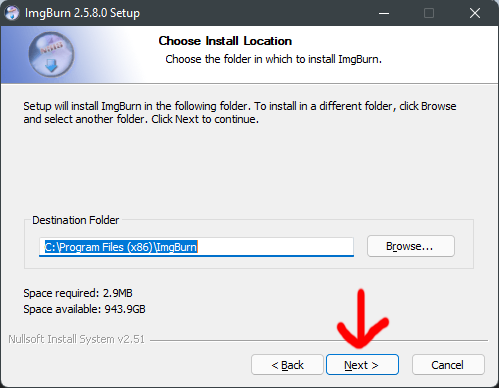
Its Next again.

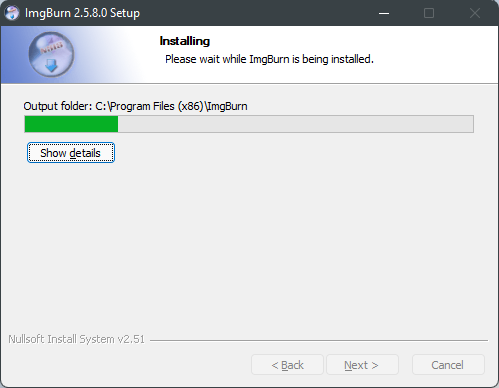
It will finally start Installing.
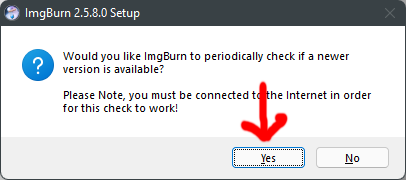
Click yes, to periodically check for a newer version.
The ImgBurn website may open to thank you for installing ImgBurn, you can just close this again.
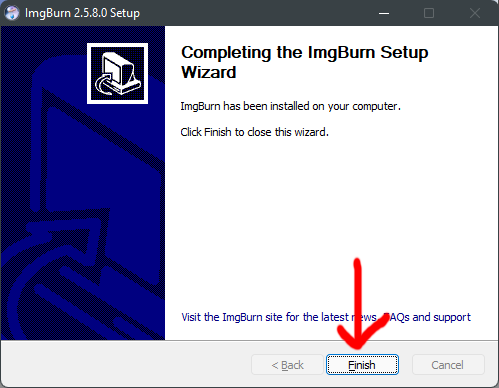
Finally click finish.
Insert a blank DVD into your DVD burner drive.
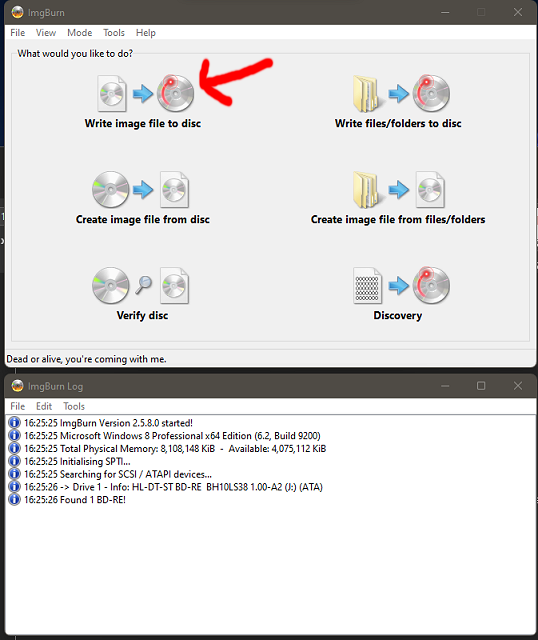
Next open ImgBurn, and click the first option Write image file to disc.
Next, just next to where is says Please select a file… Click the yellow icon.
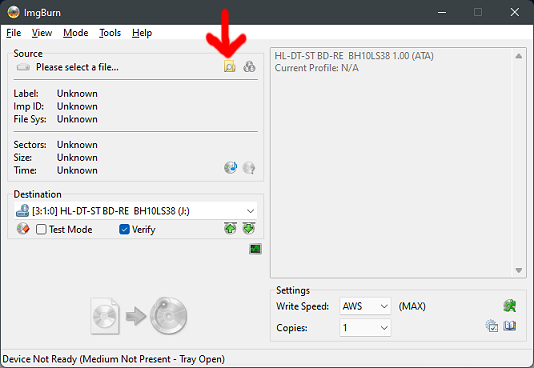
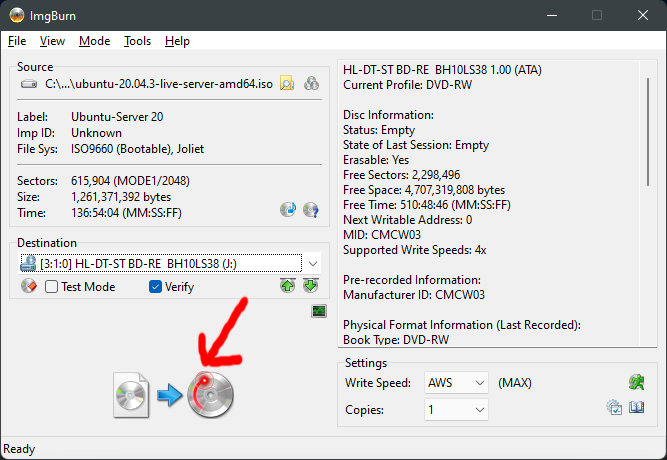
Navigate to the Ubuntu server ISO file you downloaded (Click Open).
Now, just click the Burn icon.
Now, sit back and wait for the DVD to be burned.
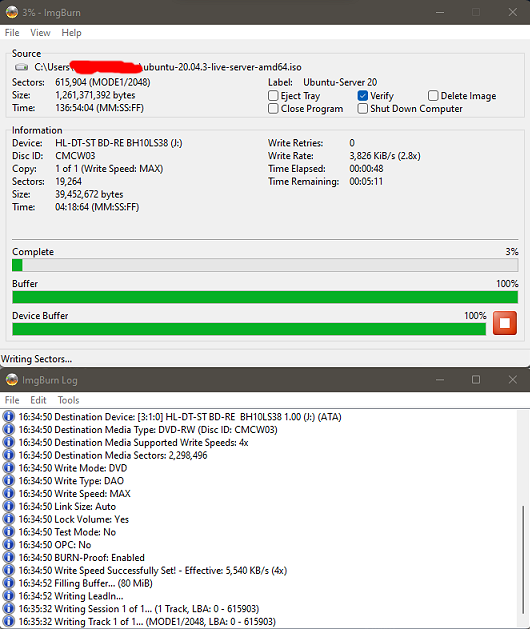
ImgBurn may open and close the DVD drive before it checks that the DVD has written correctly.
When you get the message Operation completed successfully click OK.
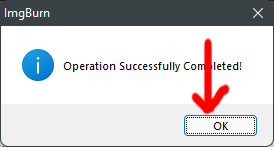
Close ImgBurn, and eject your DVD.
We now have a bootable Ubuntu server DVD to use in the old PC you are going to make into a server.
DO NOT INSTALL THE UBUNTU SERVER SOFTWARE ON YOUR GOOD WINDOWS PC OR LAPTOP AS IT WILL PERMANENTLY ERASE YOUR HARD DRIVE.
Just use your good PC or laptop to create the installation media (as above).