This topic assumes you used 123-Reg for buying your domain name, where the principle is the same, if you used another domain registrar the setting up procedure may differ.
Now this used to be a very simple process, but 123-Reg for whatever reason decided to re-design their online control panel.
When we link our new domain to our public IP address, we need to set up something called name servers and specify they have the same IP address.
We really only need one nameserver, however 123-Reg and almost all others domain registrars require a minimum of 2.
Before the new CP was introduced it was simple to set up 2 name servers with the same IP address. Now, however it has now become slightly more difficult.
Once we have got our name servers set up for our main (first) domain name, any additional domains we add to the server can be pointed to our name servers so it’s much easier.
Ok, let’s get started.
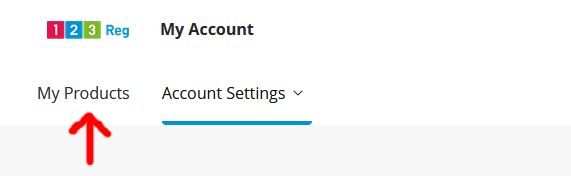
Log into your 123-reg online control panel and select products.
Next click on Manage all.

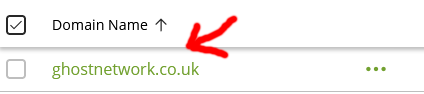
Next click on your domain name.
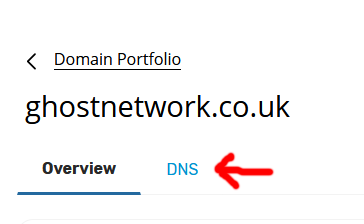
Next select DNS.
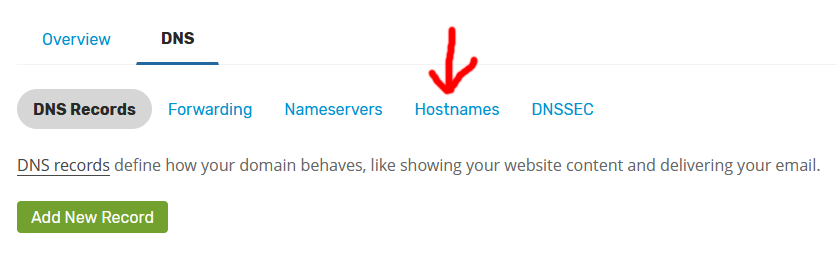
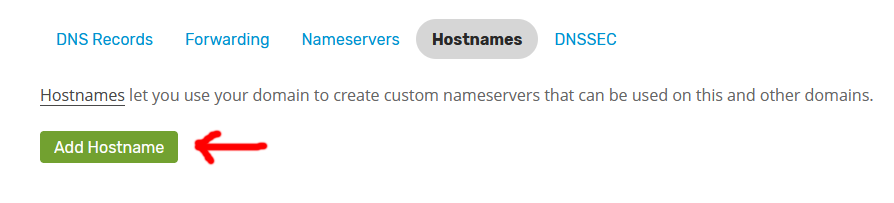
Click on Hostnames.
Next, click Add Hostname.
Ok, this is where the fun begins, we are going to add 2 hostnames, with the same IP address, but we must add the second one quicky (not sure why).
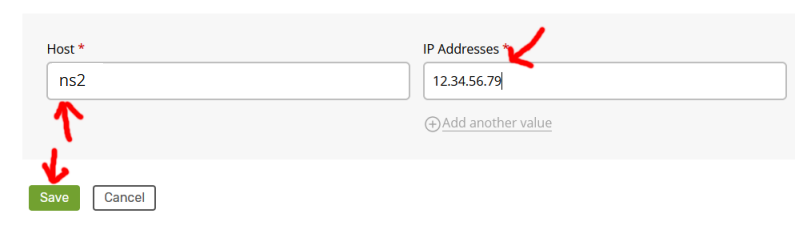
Do not do anything yet. The fist server will be called ns (stands for Name Server) which will be linked to your public static IP address, and the second one should be called ns2 again linked to your public static IP address so when we are done is should look like this.
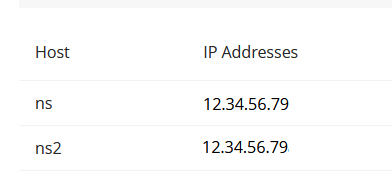
NOTE: Your IP address will be different from the example one in the picture.
So, before you do anything let me explain how to do this.
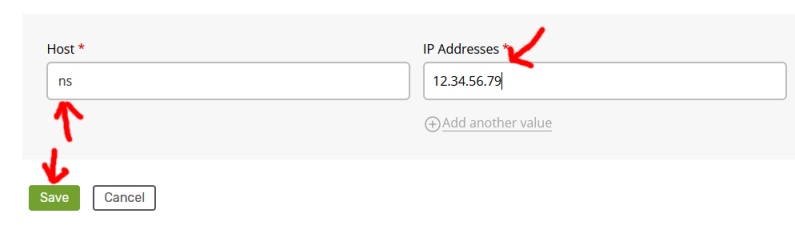
First you type ns in the Host box, then put your static IP in the IP Addresses box.
You would then click Save, next AS FAST AS YOU CAN, you should click Add then (again at break neck speed) type ns2 into the hostname box, again put your static IP in the Addresses box, then (still at 100MPH) click save. If you get an error message you were not quick enough, so you would have to delete the entries and try again.
So, here it is with pictures.
Put ns in the Host Name box, put your static IP in the IP Addresses box, then click save. Once you have saved the first one you have to go as fast as possible.
Next Click Add
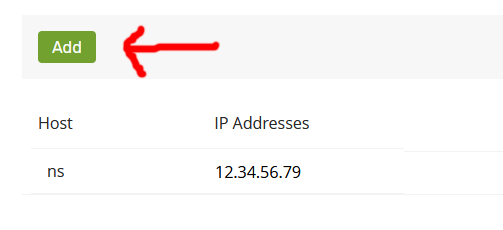
Next still going fast put ns2 in the Host Name box, put your static IP in the IP Addresses box, then click save.
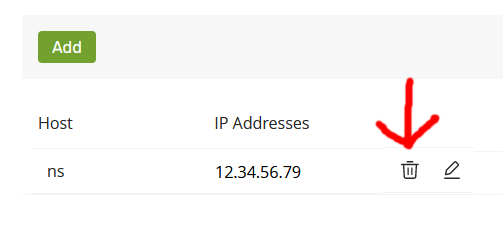
If it worked you will see something like this.
If you get an error message saying something is already in use, then delete the first entry (ns).
Wait a few minutes and try again.
If you don’t end up getting it to work, contact them and complain.
When you finally get it working, log out of your 123-reg control panel wait 5 minute and then log back in.
Okay now that nonsense it out of the way, the next bit should be simple.
As before, select products, then click manage all, click on your domain name, then select DNS.
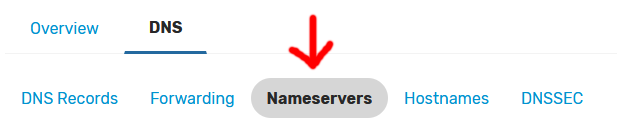
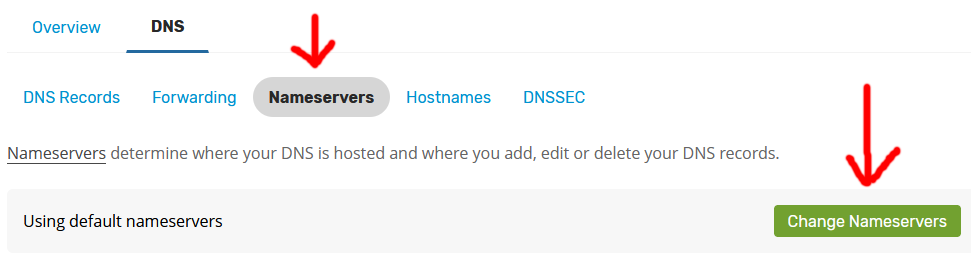
Now click Nameservers.
Next, click Change Nameservers.
Select I’ll use my own nameservers.
In the first box type ns.MyDomainName.com (Replacing MyDomainName.com, with your actual domain name)
In the second box type ns2.MyDomainName.com (Replacing MyDomainName.com, with your actual domain name)
So, if you domain name was mynewdomainname.co.uk it should look like this.

So, when you’re sure its correct and you have got you domain name correct click Save.
Next, click Continue.

Note, the name servers WILL NOT update straight away!
Now, you can log out of the 123-reg control panel
The process of setting name servers can take up to 1 week to update, the average is around 48 hours.
Now, you don’t need to wait a full week until you carry on making your webserver, but be aware if you domain is not fully updated yet, you won’t be able to access it VIA a browser. So, if you get to that stage and it is not working, wait a couple of days and try again.
Once you have created these name servers, your new webserver will be known by these names online. (when you make it anyway)
PLEASE NOTE:
If you buy another domain name in the future DO NOT follow the “set up something called name servers” step.
You just need to select products, then click manage all, click on your NEW domain name, then select DNS, select Nameservers, click Change Nameservers, finally select I’ll use my own nameservers and put in your name servers that you set up for your main (first) domain.
If your additional domain is called www.Fredds-Tools.co.uk, you should set the nameservers based on the first domain name.
NOT ns.Fredds-Tools.co.uk and ns2.Fredds-Tools.co.uk
The first domain we set up, are what the name servers are derived from.
I recommend that your server is set up (in most cases) with one set of name servers.